Most dash cams don't die from a bad sensor. They die from a bad install. I have watched a camera with genuinely good night footage produce a useless clip because the lens was aimed at the hood, the card was a bargain bin special, and the power cable was dangling into the driver's knee zone. The camera was fine. The dash cam setup was not.
A dash cam setup comes down to four decisions: where the camera sits, how it gets power, what card records the footage, and how you route a rear camera without tearing up your trim. Get those right and a mid-priced camera will outperform a flagship that got slapped on the glass in ten minutes and never checked again.
Here is how I set up every camera that goes on my own windshield, plus the two cams I would build that setup around depending on what you want to spend.
Why you should trust me
I drove rideshare in Phoenix full time for six years, roughly 40,000 miles a year on I-10 and the 101, most of it at night when the surge pricing kicked in. I got rear-ended twice.
The first one had no camera in the car. The other driver told the officer I ran the light, and it turned into a three-month he-said-she-said fight that raised my premium anyway. The second one was a distracted driver at 45 mph, and by then I had a camera running. That claim settled in nine days. Same driver, same roads, same insurance company. The only variable was footage.
Since then I have run cameras through the same conditions: my commute, my night shifts, and Phoenix summers where a parked dashboard gets hot enough to peel the adhesive off a mount and swell a lithium battery like a balloon. I keep the melted suction cups and the corrupted cards. They taught me more than any spec sheet.
What a dash cam setup actually has to do
Strip away the marketing and a camera has three jobs.
Identify. That means a license plate you can read in the clip, not a blur you can squint at. This is why bitrate matters more than the resolution sticker, and why field of view matters more than either. Around 140 degrees is the sweet spot. Narrower misses the side of your car in a lane-change dispute. Wider turns plates into smudges.
Establish context. An adjuster does not care what happened at the moment of impact nearly as much as what happened in the ten seconds before it. A camera that only records the hit gives you a still frame with a story attached. A camera that records continuously gives you the sequence, and the sequence is what wins arguments.
Survive. This is the part people skip. A camera is a computer sitting on a 120 to 180 degree surface all summer. If it packs a lithium battery instead of a capacitor, that battery is a countdown timer. If it records to a standard card instead of a high endurance card, the card will corrupt at some point, and it will not announce itself. You will find out when you pull the footage and there is nothing there.
Two more things worth knowing before you buy anything. First, parking mode only exists if the camera is hardwired to the fuse box. Running it off the cigarette lighter means it dies when the ignition does, which is exactly when a parking lot hit happens. Second, a camera that shuts down from heat does not warn you. It just stops, and loop recording quietly stops looping.
The two cameras I would build a setup around
Both of these record front and rear, which is the minimum I would accept in a car that gets driven daily. One is a straightforward, low-cost way to get eyes on both ends of the vehicle. The other is the one I would pick if license plates at night and parking coverage actually matter to you.
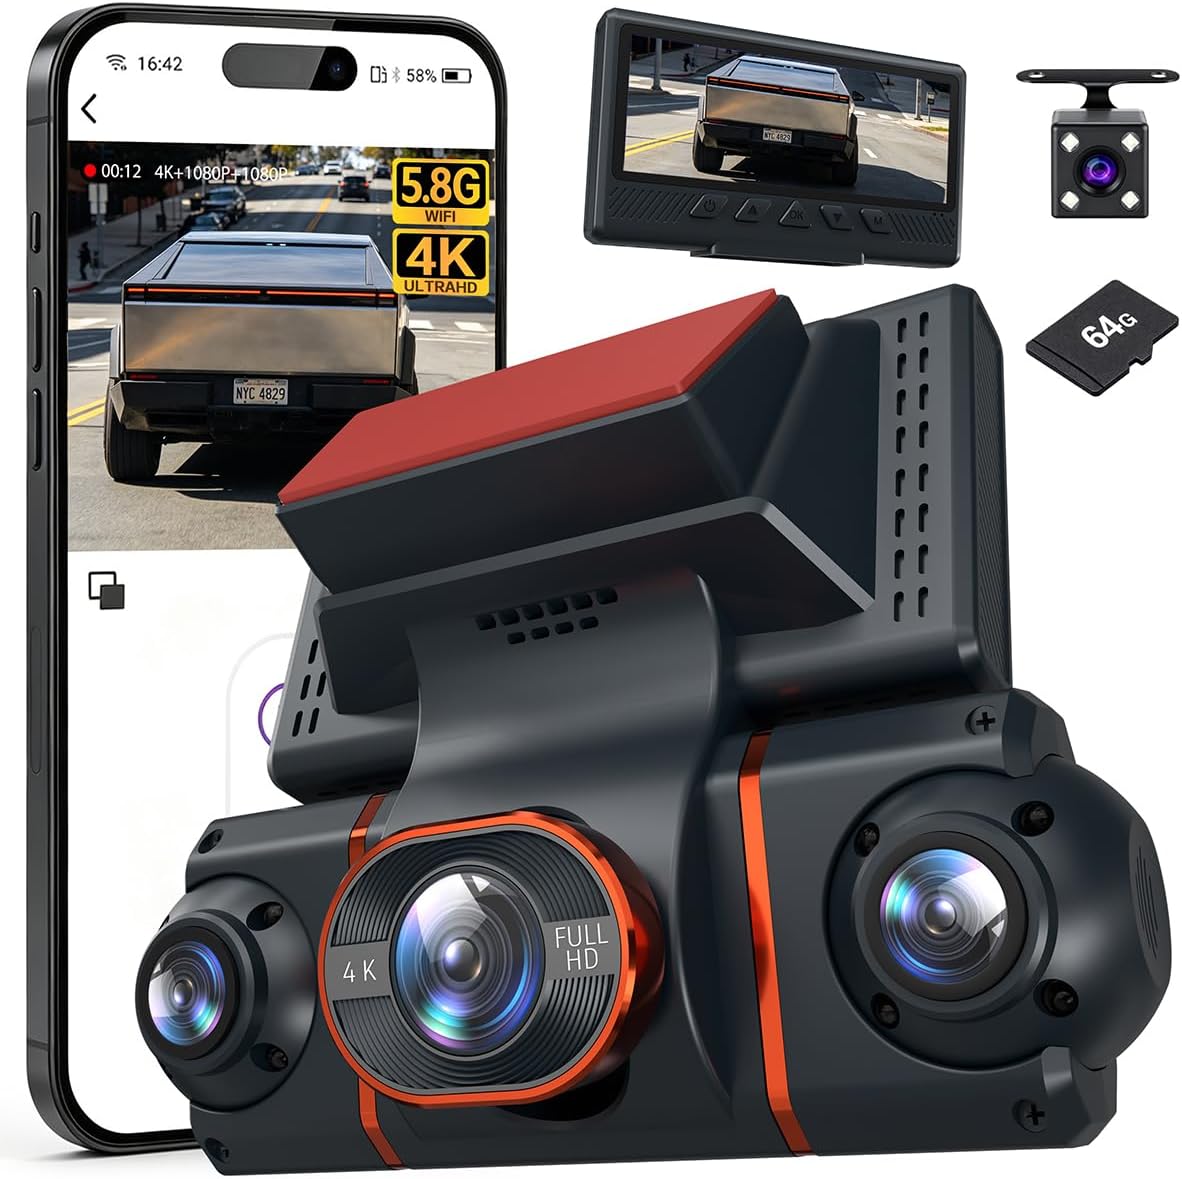
Budget pick: 4K+1080P*3 FHD Dash Cam Front and Rear, 360° Car Camera, 5.8GHz WiFi 20MB/s
 Visit on Amazon →
This is the entry point I would hand to someone who wants front and rear coverage without turning the purchase into a project. It records front and rear, and the 360 degree framing means the footage covers more than a straight-ahead tunnel. The 5.8GHz WiFi rated at 20MB/s is the part that matters day to day, because pulling a two-minute clip to your phone at a parking lot is the difference between having evidence and having a story.
Check current Amazon price before you commit, because this class of camera moves around a lot.
Flaws but not dealbreakers: At this price point, the card in the box is a placeholder, not a plan. Buy a high endurance card and format it in the camera before the first drive. And mount it with the adhesive pad, not the suction cup, if your car sits outside in a hot climate.
Anyone who wants a witness on both ends of the car, and who is willing to spend fifteen minutes on the install, will be well served here.
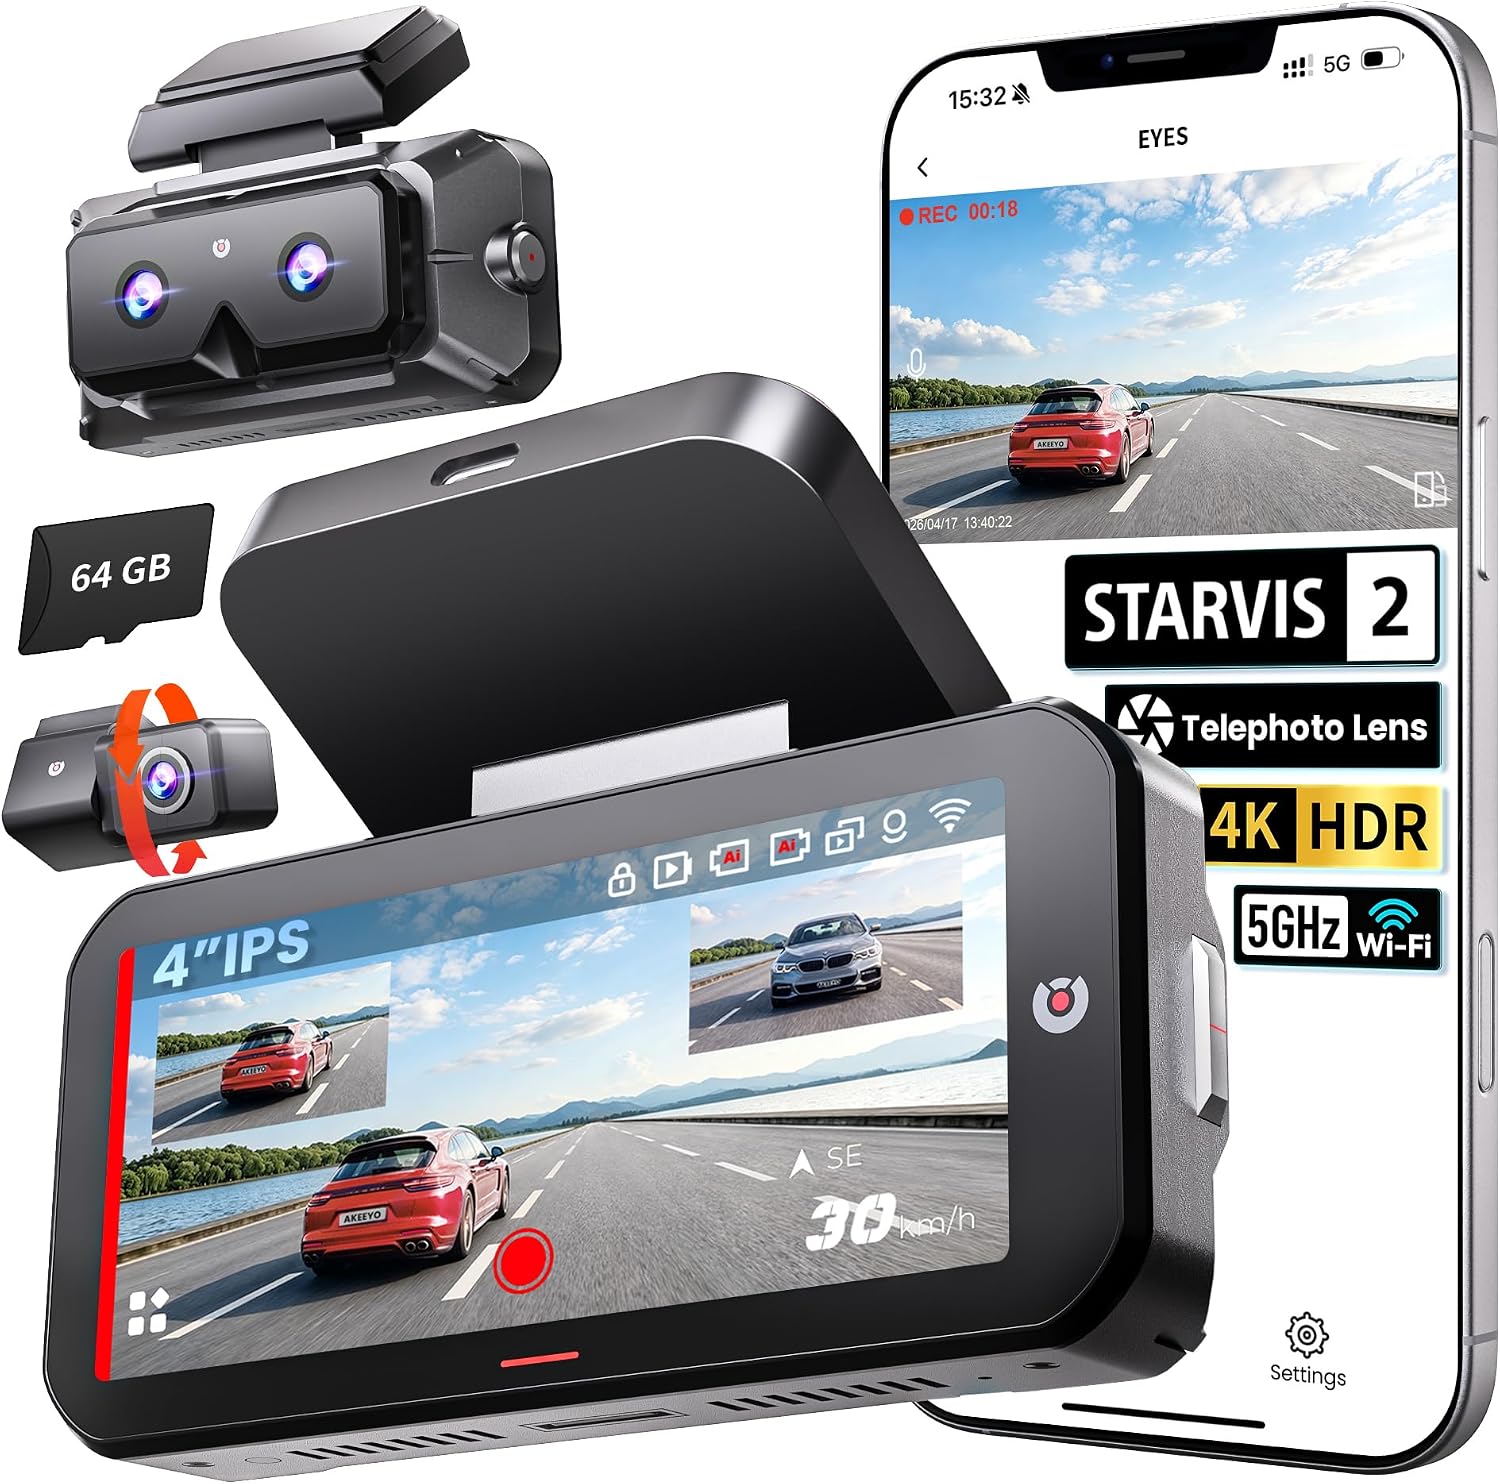
Upgrade pick: AKEEYO 3-Channel Dash Cam with Telephoto Lens, 4" IPS Touchscreen, STARVIS 2 Sensor, 2K Recording, ADAS+BSD 6 Safety Alerts, IP67 Rear Camera, GPS, 5GHz WiFi, 24H Parking Mode, Free 64GB Card
 Visit on Amazon →
This is the one that solves the problem I care most about. Three channels plus a telephoto lens means you are not relying on a wide lens to capture a plate at distance, which is the single most common reason a clip fails an adjuster's read. The STARVIS 2 sensor is built for low light, and night footage is the only footage that really counts.
The rest of the package is aimed at real ownership. The IP67 rear camera is sealed against rain and road spray, which matters more than people think on a rear window that gets hit with everything. GPS stamps your speed and location into the file, and that timestamp is often what settles a dispute about who was where. The 4 inch IPS touchscreen means you can review a clip in the car instead of fighting an app in a parking lot. The 24 hour parking mode gives you coverage while the car sits, provided you hardwire it. The 5GHz WiFi keeps transfers quick, and it ships with a 64GB card to get you started.
Flaws but not dealbreakers: The included card is a starter, not a long-term answer. Swap in a high endurance card before you rely on this for daily recording. The ADAS and blind spot alerts are helpful nudges, not a substitute for checking your mirrors, and some drivers turn the chimes off entirely.
Anyone who drives at night, parks on a street or in a lot, or has ever had a claim come down to a plate they could not read should start here.
The actual setup, step by step
Step one: Choose the mounting spot before you peel anything. Put the camera behind the rearview mirror on the passenger side where it does not block your view and does not sit inside the airbag deployment zone along the A-pillar or the top of the windshield. Check that it falls inside the wiper sweep so the lens sees through clean glass in rain.
Step two: Clean the glass properly, then wait. Alcohol wipe, then let it flash off. Adhesive mounts need 24 hours of cure time before you expose them to sun. This is the step everyone skips, and it is why mounts fall off in July.
Step three: Aim the lens before you tighten anything. Get the horizon about a third of the way down from the top of the frame. Too much sky and the camera exposes for the bright part and turns the road into mud. Too much hood and you lose the plate height you need.
Step four: Route the cable like you are going to keep the car. Tuck it into the headliner, down the A-pillar, behind the trim, and across to the power source. Use a plastic trim tool, not a screwdriver. Never run a cable across the face of an airbag.
Step five: Decide how it gets power. Cigarette lighter is the five-minute version and it is fine if you only care about driving footage. If you want parking mode, hardwire it with a fuse tap to a circuit that stays live, and use a kit with a voltage cutoff so the camera cannot drain your battery flat.
Step six: Format the card in the camera, not on your computer. Then set loop recording, set the correct time zone, and confirm the GPS lock. A camera with a wrong timestamp is a camera an adjuster will question.
Step seven: Verify night footage before you trust it. Drive at night, pull one clip, and try to read a plate off a car ahead of you at highway distance. If you cannot, adjust the aim and check the bitrate setting. Do this in week one, not after a collision.
Step eight: Maintain it. Once a month, pull the card, review the last week of files, and reformat. A setup that has been silently failing for two months is worse than no camera at all, because you will assume you are covered.
Heat, cards, and the failure points nobody plans for
Heat is the number one killer, and it does not announce itself. Capacitors handle it. Lithium batteries swell, leak, and eventually take the camera with them. If a camera is marketed for hot climates and it has a lithium battery in the spec list, that is a contradiction.
The card is the second killer. Constant recording writes a huge volume of data to the same card every day, and a standard card is not rated for that. Buy the high endurance version, buy it from a seller you trust, and verify the rating printed on the card itself rather than on the listing.
The third is the mount. Suction cups let go in heat, usually at the worst moment. Adhesive is more permanent but only if you cured it. If you park outside in a hot climate, treat the mount as a wear item.
The fourth is you. The camera does not help if the footage sits on a card you never check, in a format you have never opened, with a timestamp that is eight hours off.
What the whole setup costs
The camera is not the whole bill. Budget for a high endurance card and, if you want parking mode, a hardwire kit with a voltage cutoff. Those two items are what turn a camera into a system, and they are the two things people skip.
Prices on both cameras move, so check current Amazon price rather than trusting a number you saw last month. The math that matters is not the sticker. It is the difference between a nine-day claim and a three-month argument, which is the whole reason I keep a camera on my glass.
Build it once, aim it properly, wire it right, and then forget about it until the day you need it. That day is the only review that counts.