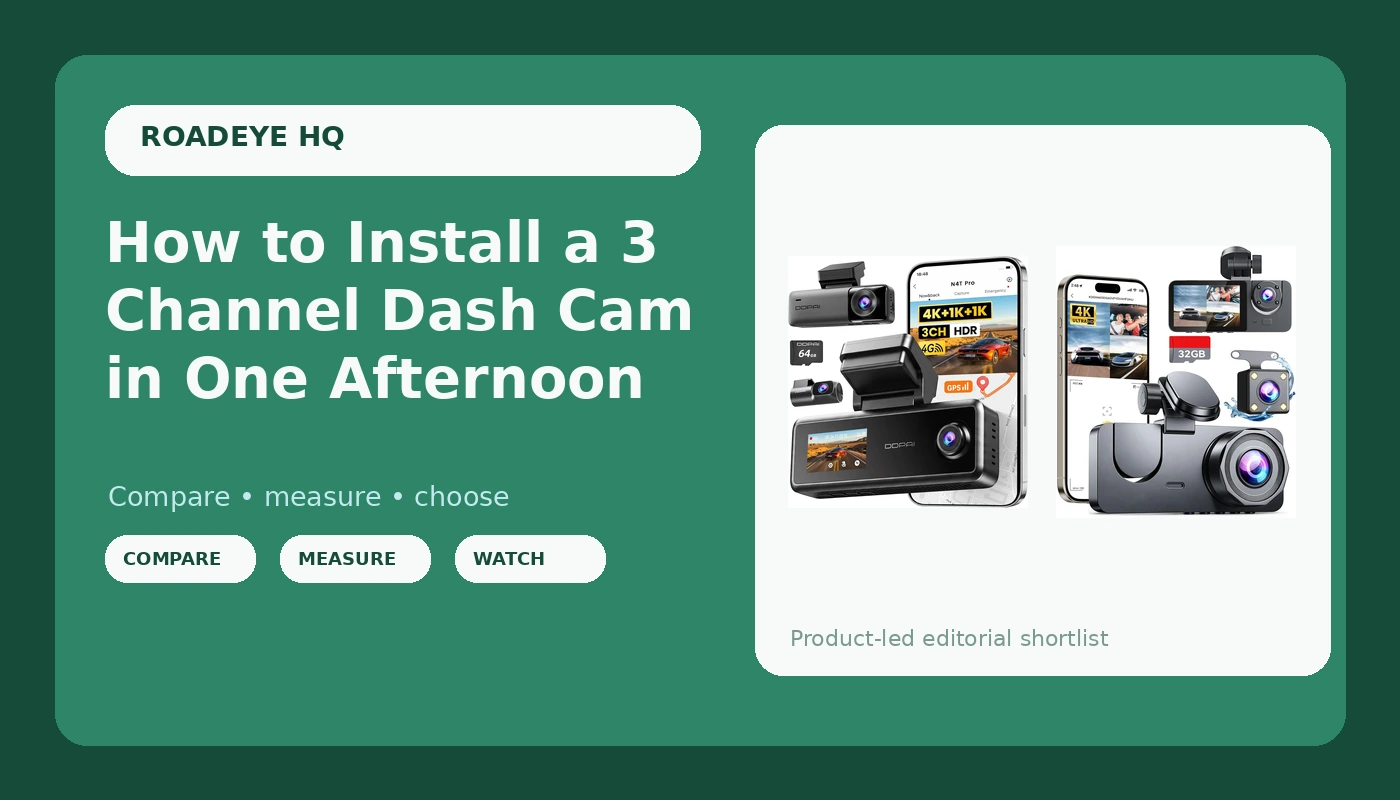
A 3 channel dash cam installation is not a wiring project. It is a routing project with a camera bolted to the end of it. Get the cables where they need to go without cracking a single trim clip, and the electronics mostly take care of themselves.
I drove rideshare in Phoenix for six years, about 40,000 miles a year on I-10 and the 101, most of it at night when the surge pricing kicked in. I got rear-ended twice. The first one was a red-light runner who told the cop I ran the light, and with no footage it turned into a three-month he-said-she-said fight that raised my premium anyway. The second one was a distracted driver at 45 mph, and by then I had a cheap camera on the glass. The claim settled in nine days.
That difference is why I keep a spreadsheet full of dash cams and a drawer full of melted suction cups. Three channels means front, rear, and cabin. For anyone carrying passengers, the cabin view is not a gimmick, because a lot of the arguments that cost you money happen inside the car, not outside it. This is the order I would install one in, and the two cams I would put on the glass for it.
Why you should trust me
I have run more than 40 dash cams through my own commute, my own night shifts, and Phoenix summers where a parked dashboard hits 180°F. I have watched lithium batteries swell like balloons, and I have pulled SD cards that corrupted at exactly the moment someone needed the clip. Every camera I write about has to survive heat, produce night footage I can actually read, and run a parking mode that does not drain the battery.
I am not a retailer and nobody pays me to like a camera. If a cam cannot prove itself on a night clip at 40 mph, it does not get a recommendation here, no matter how good the box looks.
How I picked and how I tested
The two cameras below sit at opposite ends of the price ladder, and that is deliberate. One is the cheapest honest way to get three views on the glass. The other is the one I would trust with a claim that matters.
The criteria I apply to any three-channel system:
- Night footage at 40 mph. Not a parking lot at dusk. I want to pause the clip and read a plate on a moving car under sodium streetlights. If the plate is a smudge, the camera is a toy.
- Sensor size and bitrate, not the sticker. A 4K badge on a tiny sensor with a low bitrate looks worse than a clean 1080p file. The badge is marketing. The bitrate is the truth.
- Heat survival. Capacitors, not lithium batteries. A camera marketed for hot climates that ships with a lithium cell is a camera that will fail in month four, and you will not find out until you need the clip.
- Parking mode that is actually wired. Parking mode on a cigarette lighter is a dead feature. It only counts if it is hardwired to the fuse box and the drain is small enough that your battery still starts in the morning.
- The card. High endurance rating, verified on the card itself, not the listing. The card is the most important part of the system and the one people spend the least on.
Neither camera here earns a spot by winning a spec sheet contest. They earn it by doing the boring parts right: recording continuously, keeping a correct timestamp, and surviving the dashboard.
The two cams I would wire for this job
Both of these are three-channel systems, which means front, rear, and cabin coverage from one setup. That is the configuration this whole guide is built around.
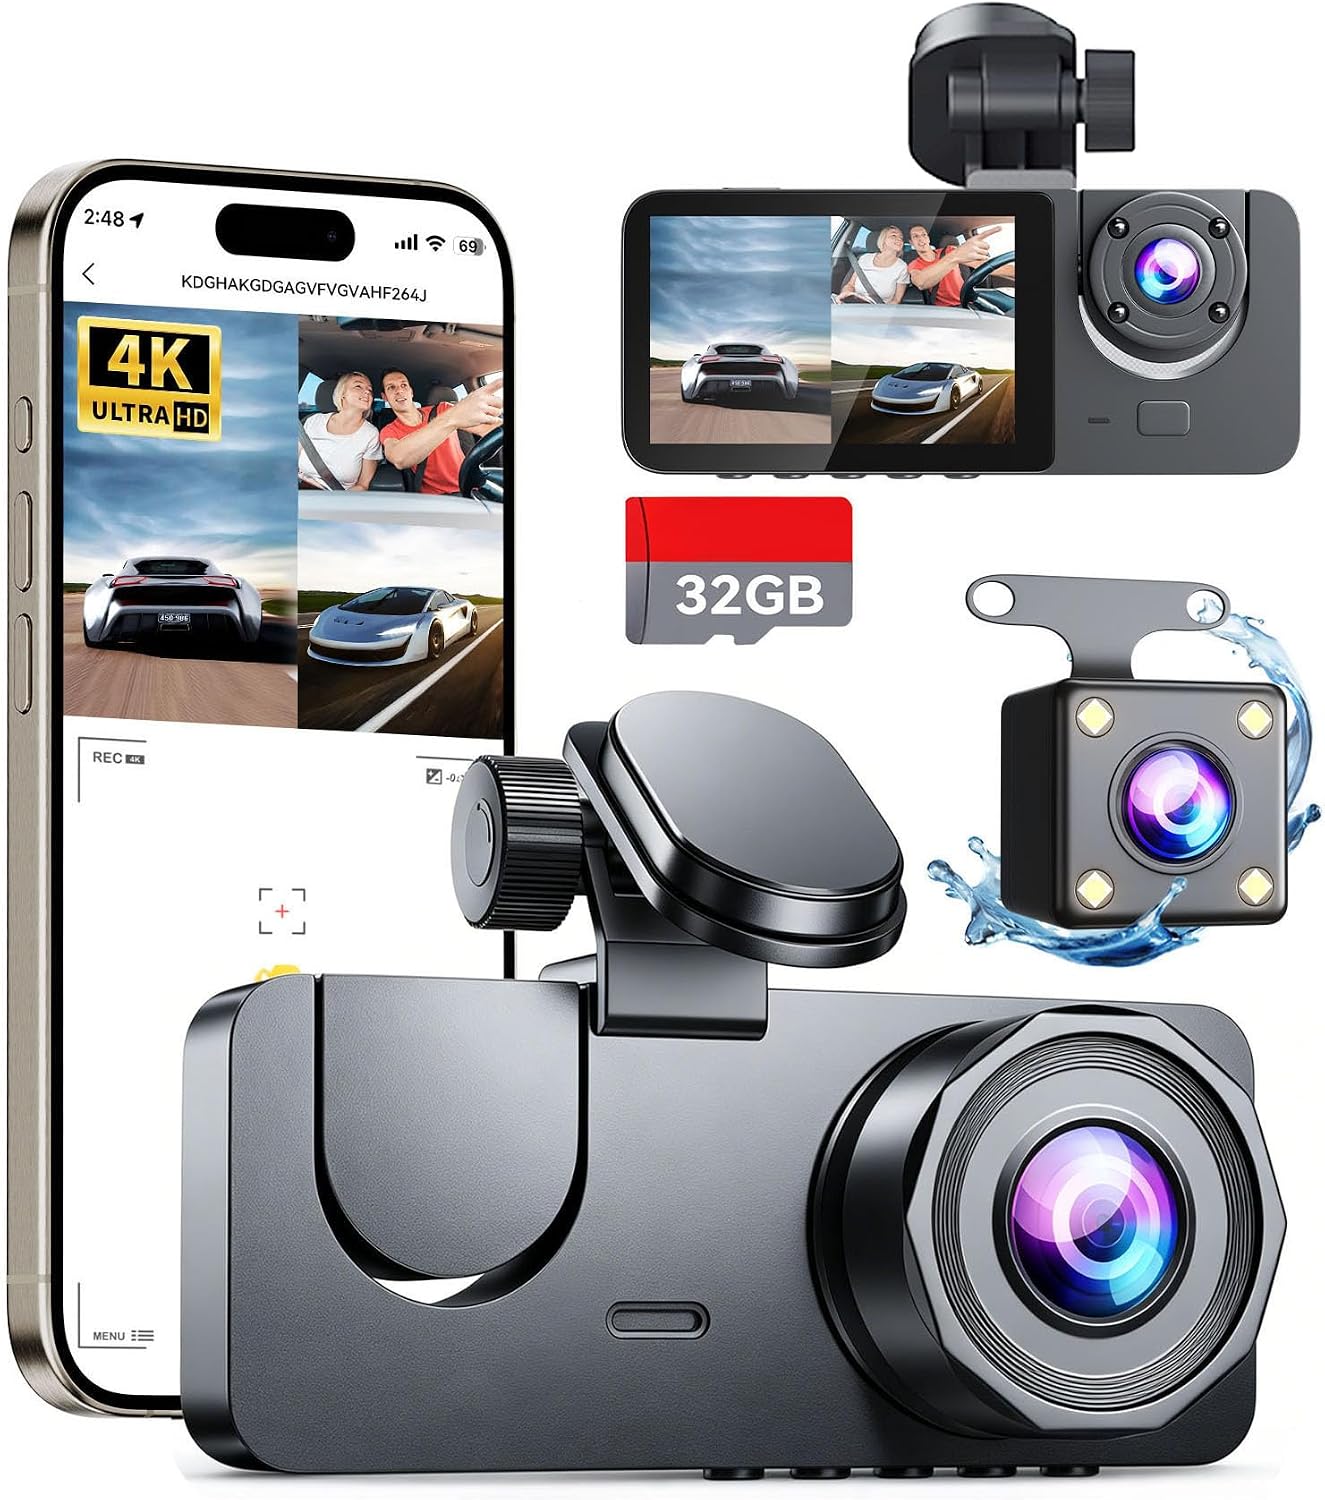
Budget pick: Dash Cam Front and Rear Inside 3 Channel, 4K Full HD Dash Camera for Cars
 Visit on Amazon →
This is the entry point into three-channel coverage, and it is the one I would hand to a new rideshare driver who wants all three views without spending a weekend's worth of fares on a camera. Front and rear and inside, with a 4K front sensor, in a package that gets you recording immediately instead of shopping for another month.
What I would verify before trusting it: the mount type, because suction cups fall off at 110°F and I have the evidence in a drawer to prove it. If yours ships with a suction mount, plan on replacing it with adhesive or VHB tape before July. Second, the card. Whatever comes in the box is a starter card, and starter cards are the reason people lose footage. Buy a high endurance card and format it in the camera, never on your laptop.
Flaws but not dealbreakers: At this price point you are buying coverage, not polish. Expect the app to be the weakest link, expect the night footage to be good rather than great, and expect to do your own wiring if you want parking mode. None of that stops it from being a witness on your windshield.
Check current Amazon price before you decide, because this tier moves around.
Anyone who wants front, rear, and cabin coverage on a tight budget, and who is willing to spend the money saved on a proper high endurance card, will get real value here.
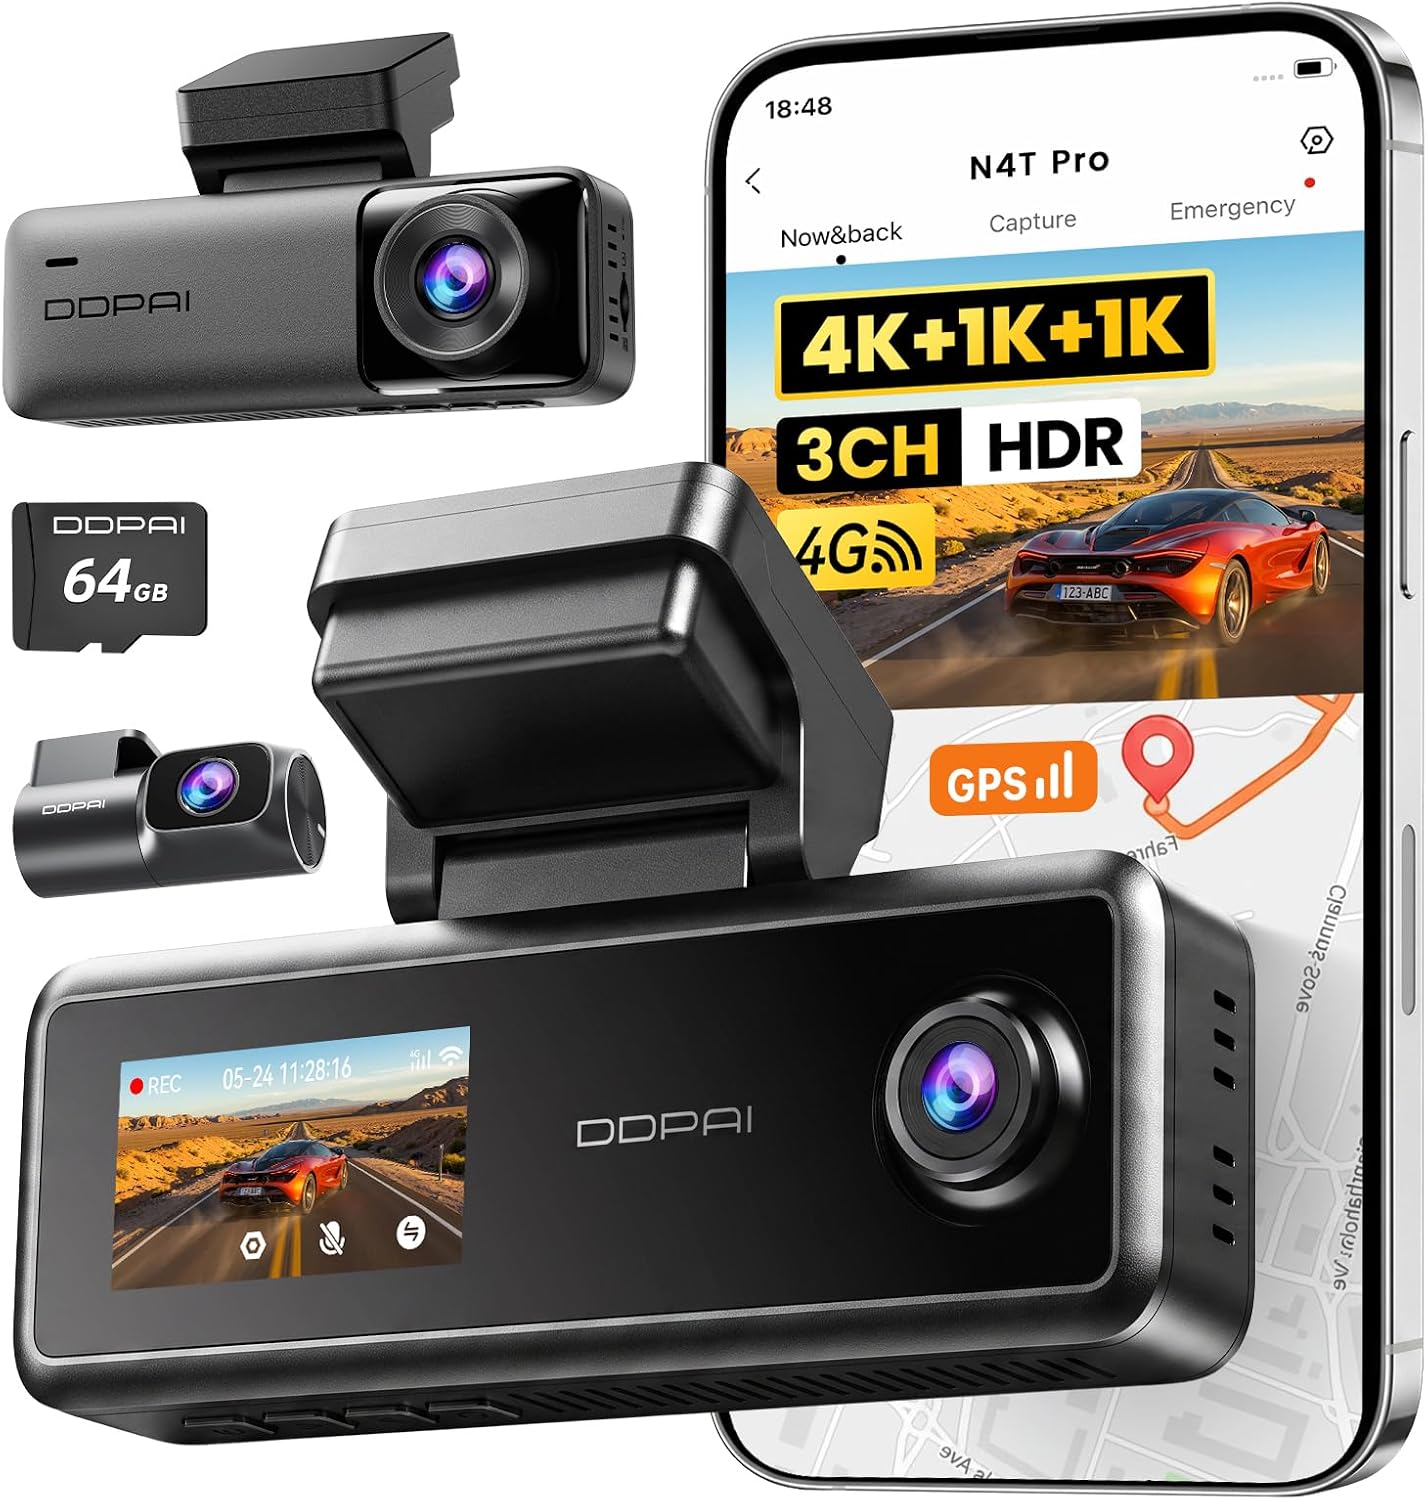
Upgrade pick: DDPAI N4T Pro 4K 3 Channel Dash Cam, 64GB Card, Triple HDR, WiFi 6
 Visit on Amazon →
This is the one I would put on a car where the footage has to hold up. Triple HDR across three channels is the feature that matters, because HDR is what separates a night clip where you can read the plate from a night clip where you can read the headlights. Bright headlights behind you and a dark plate in front of you is the exact scene that kills cheap cameras, and it is the scene where a claim gets decided.
The included 64GB card gets you recording on day one, which is more than most cams give you, but treat it as a starting point and move to a high endurance card once you are recording daily. WiFi 6 is the other practical win. Pulling a three-channel clip over a slow connection is the kind of thing that makes people stop checking their footage, and a camera you stop checking is a camera that fails quietly.
Flaws but not dealbreakers: It costs real money, and it still does not wire itself. You will need the hardwire kit and an add-a-fuse if you want parking mode, and the app will still want an account. Neither is a reason to skip it.
Check current Amazon price before you commit, then budget for the card and the fuse tap on top.
Anyone who drives for a living, or who has already been through one disputed claim, should start here rather than working up to it.
The actual install, step by step
This works on any car with a fuse box you can reach and a headliner you can tuck a cable into. Budget two to three hours the first time. The second one takes an hour.
Step one: Buy the card before the camera. High endurance, sized to the camera's limit, formatted in the camera itself. Format it every three to four weeks. A normal card recording three channels in Phoenix heat corrupts, and it corrupts silently, which means you find out when you need the file.
Step two: Find the fuse box and pick your circuits. You want two: one that stays live with the key off (for parking mode) and one that dies with the ignition (for normal recording). Test both with a multimeter, key out, then key in. Never tap a safety circuit. Airbags, ABS, and anything on the brake system are off limits. Use an add-a-fuse tap, not a wire jammed into a slot.
Step three: Clean the glass and mount the front camera. Alcohol wipe, let it dry, then place the camera behind the mirror on the passenger side so it does not block your view and does not sit in your sightline. Adhesive mounts need 24 hours to cure before you drive. Suction mounts need a prayer in a Phoenix summer.
Step four: Route the front cable. Plastic trim tool, tuck the cable up under the headliner, then down the A-pillar. This is the step where people break clips and where people create airbag problems. Do not run the cable across the face of a side airbag. Follow the existing factory harness down the pillar and zip tie to it. The cable should never be able to cross the airbag's path when it deploys.
Step five: Route the rear cable. Along the headliner to the C-pillar, down behind the trim, into the trunk, and out through the existing rubber grommet into the trunk lid. Leave a slack loop at the hinge. Without that loop, the cable stretches and snaps the first time you open the trunk.
Step six: Mount the rear camera. Rear glass or trunk lid, aimed slightly downward so you capture the bumper and the plate of whoever is behind you. Too high and you film sky. Too low and you film your own trunk.
Step seven: Mount the cabin camera. Front glass aimed back at the seats, or rear glass aimed forward. Front glass is easier to wire and keeps the lens out of passenger reach, which matters more than people think.
Step eight: Ground the hardwire kit to bare metal. Not paint. Not a plastic panel screw. Sand a spot down to metal, use a star washer, and tighten it properly. A bad ground is the number one cause of a camera that reboots randomly and a parking mode that never triggers.
Step nine: Set the basics before you drive. Correct time zone, timestamp on, loop recording on, parking mode sensitivity set to medium to start. Check that loop recording is actually overwriting, because "loop recording" that silently stops looping when the card fills is one of the great quiet failures of this category.
Step ten: Test it like it matters. Drive at night, pull the clip, pause it, and try to read a plate at 40 mph. Then park, lock the car, and bump the bumper to confirm parking mode triggers. If you cannot do both of those things, the install is not finished.
The other setups and why they lost
A single-channel camera covers the front and nothing else. It is better than nothing, and it is what I still run in my own truck, but it does not help you when someone rear-ends you or when a passenger dispute goes sideways.
A dual-channel setup adds the rear and stops there. That covers most collisions, which is why it is the default recommendation, but it leaves the cabin blind. If you drive passengers, that is the gap that costs you.
Cloud cameras are the other temptation. The footage lives on someone else's server and dies with your subscription, and the app wants an account before it will hand you your own clip. That is a fine trade for some drivers. It is not the trade this guide is making.
And a camera with parking mode that is not hardwired is not a parking mode at all. It is a feature on a box.
What this all costs
The two cameras sit at very different points on the price ladder, so check current Amazon price on both before you choose. The camera is not the whole bill either way.
The rest of the list is small and it is where the reliability comes from: an add-a-fuse tap kit, a hardwire cable for the parking mode, a plastic trim tool so you stop using a screwdriver, and a high endurance SD card. That is it. The wiring is your Saturday.
The math that matters is not the receipt. It is the difference between a nine-day claim and a three-month fight with no footage, and a premium that goes up whether you were right or not. A three-channel install is one afternoon. The camera is the cheap part. The install is the part that makes it worth anything.