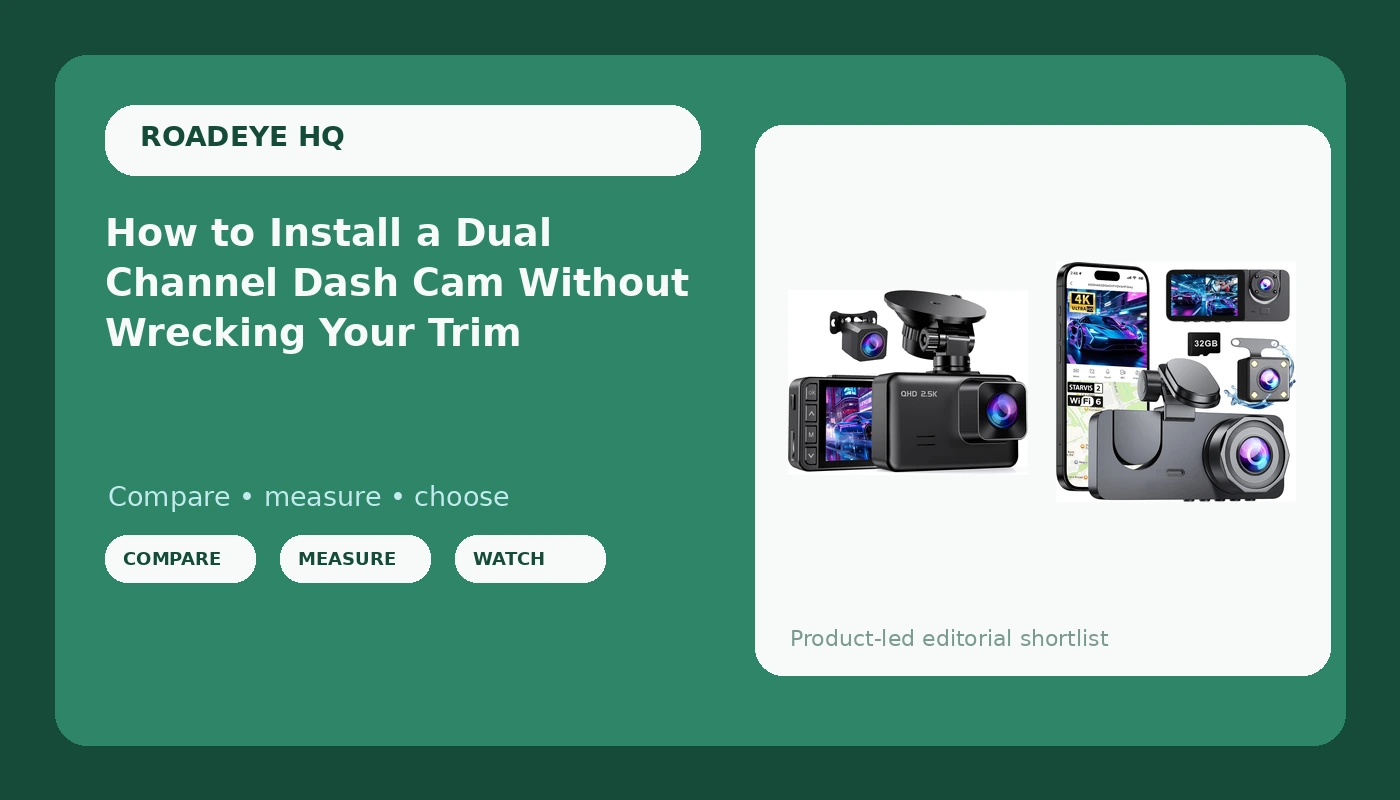
A dual channel dash cam install looks like a wiring job and is actually a planning job. Two hours in a driveway, a plastic pry tool, one roll of adhesive, and a single decision you have to make before you peel anything: where the rear camera lives.
I have watched this go wrong more times than I can count. Someone buys a camera, sticks the main unit to the glass in August, runs the rear cable across the headliner, and by the time the first clip actually matters the footage is a smudge where a license plate should be. The install was never the hard part. The routing and the settings are.
Everything below is the order I use, plus the two cameras I would start with if you are shopping the budget end of the market: a three channel setup for drivers who carry passengers, and a front and rear dual camera for everyone else.
Why you should trust me
I drove rideshare in Phoenix for six years, about 40,000 miles a year on I-10 and the 101, most of it after dark when the surge pricing kicked in. I got rear ended twice. The first one was a red light runner who told the cop I ran the light, and with no footage it became a three month he said she said fight that raised my premium anyway. The second one was a distracted driver at 45 mph, and by then I had a cheap camera on the windshield. That claim settled in nine days.
That difference is why this site exists. I have run more than 40 dash cams through my own commute, my own night shifts, and Phoenix summers where a parked dashboard hits 180 degrees. I keep every melted suction cup and every corrupted card in a drawer as evidence. My rule for anything I write is simple: a dash cam is an insurance witness, not a gadget. Night footage is the only footage that matters, and if a camera cannot survive a Phoenix summer it cannot survive your car either.
How I picked and how I tested
Four things decide whether a camera is worth installing. Night footage at 40 mph, where I want to read a plate, not just see headlights. Heat survival, which means a capacitor rather than a lithium battery sitting on a 180 degree dashboard. Parking mode that has been drain tested on a real car, not just claimed on a box. And card support, because the SD card is the part of the system people spend the least on and the part that fails first.
I have not run either of the two cameras below through a full summer on my dashboard rack, so I am not going to pretend I have. What I can tell you is what their listings actually say, what the install demands of them, and which driver each one fits. When a camera has not earned a place in my own rotation, I say so.
What you need in the car before you start
Gather this before you touch the glass, because a half finished install is how trim clips get broken:
- Two plastic trim pry tools, one wide and one narrow. Never a metal screwdriver on interior plastic.
- Isopropyl wipes and a microfiber cloth.
- A small flathead for prying the fuse box cover.
- Zip ties and adhesive cable clips.
- An add-a-circuit fuse tap kit with the correct fuse size for your car, plus a multimeter to find a switched fuse and a constant fuse.
- A high endurance microSD card, 128GB for two channels, 256GB for three.
- A card reader, so you can review footage on a computer instead of squinting at a phone.
- Your phone, to photograph the fuse box before you pull anything.
Two cameras worth building the install around
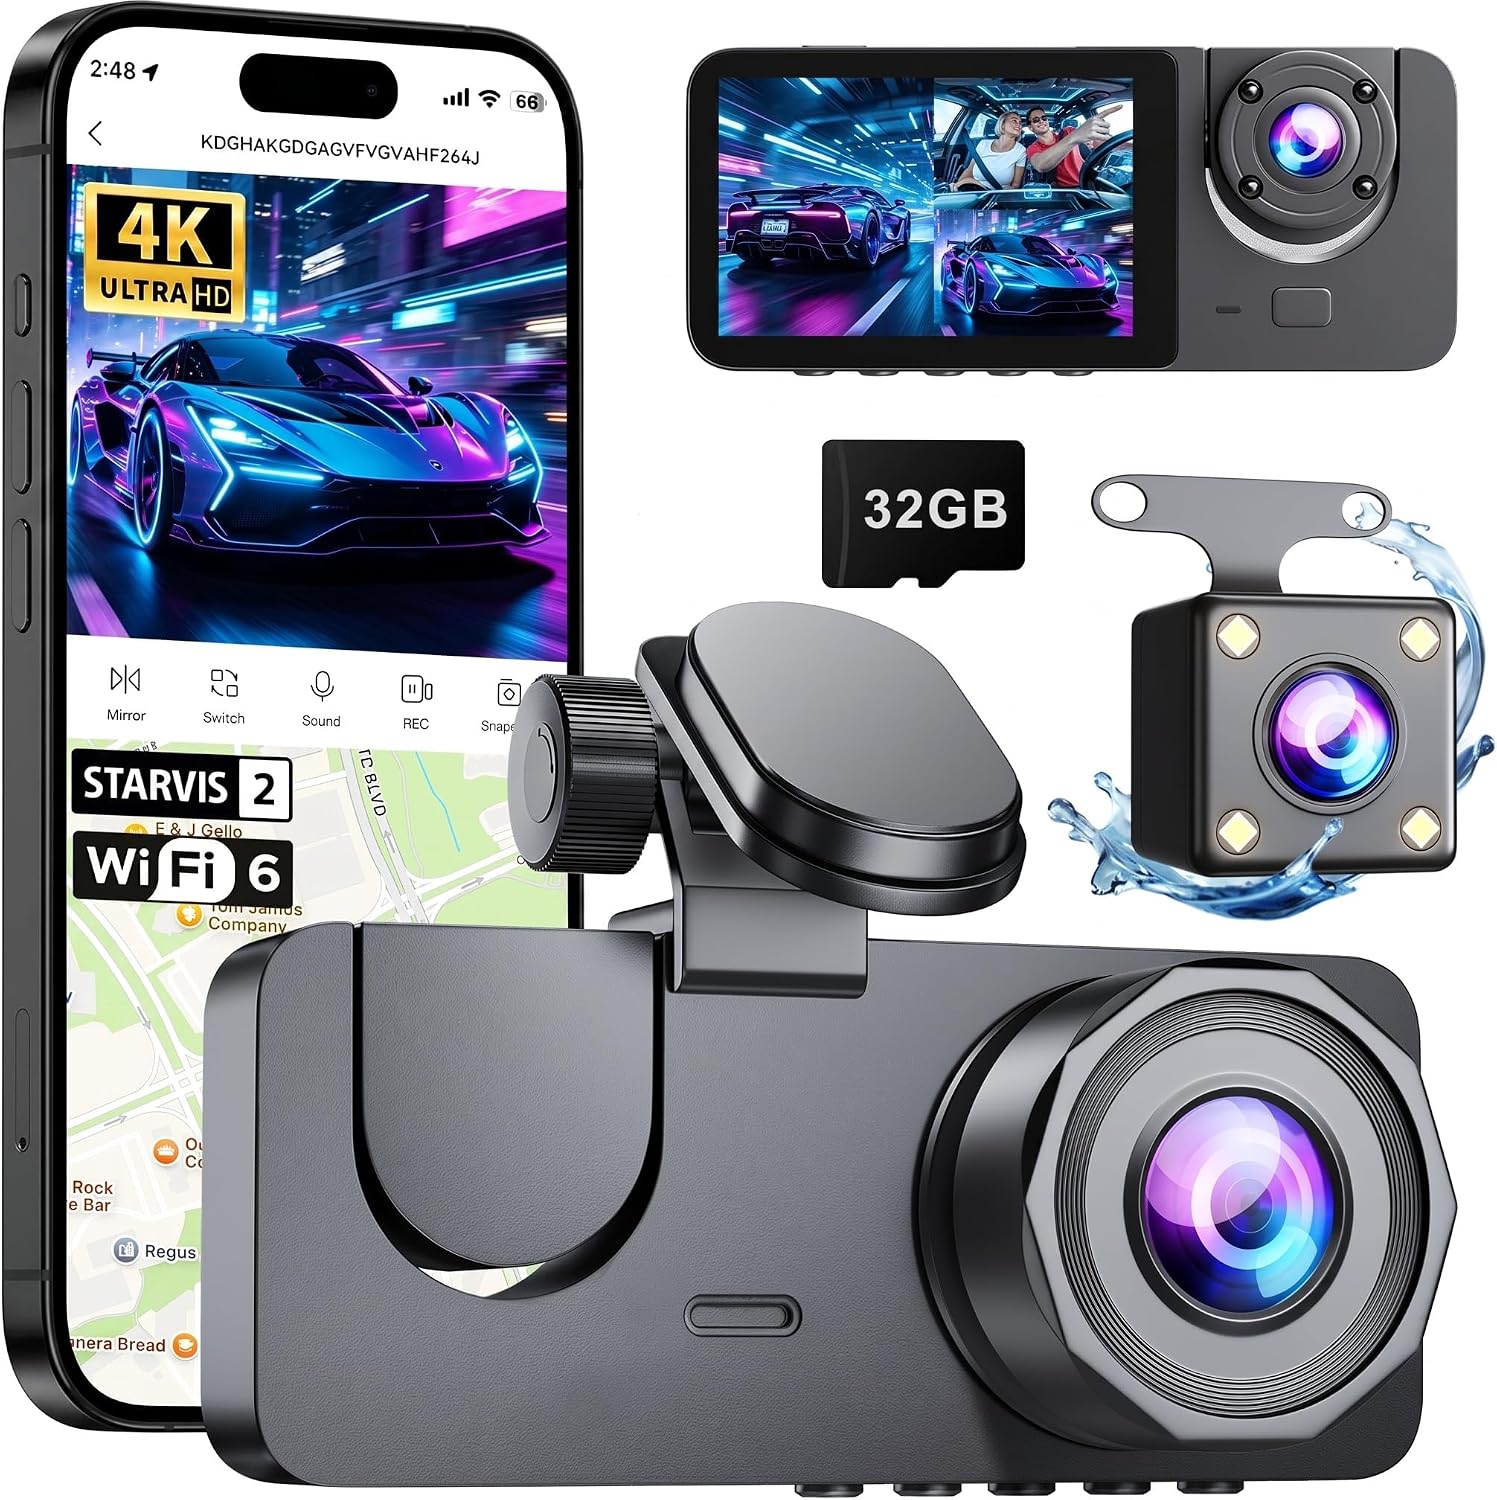
Rideshare pick: Dash Cam Front and Rear Inside, 4K Full HD 3 Channel Dash Camera for Car
 Visit on Amazon →
Three channels means front, rear, and interior. The interior view is the whole reason a driver who carries passengers buys this instead of a two channel camera: it covers the cabin, so a disagreement about what was said or done in the back seat has a picture attached to it instead of a story.
Read the listing carefully before you buy. Three channels means roughly three times the data and more heat inside a black housing, so check the rear and interior resolution and the bitrate, not just the 4K on the front lens. Confirm what powers it, because if the listing does not say capacitor, I would assume lithium and plan for summer accordingly. Check current Amazon price.
Flaws but not dealbreakers: three channel cameras run hotter and eat card space faster than a two channel unit, so budget for a high endurance card and check your footage more often.
Anyone who drives for a living, or anyone whose car regularly has other people in it, gets the most value out of this one.
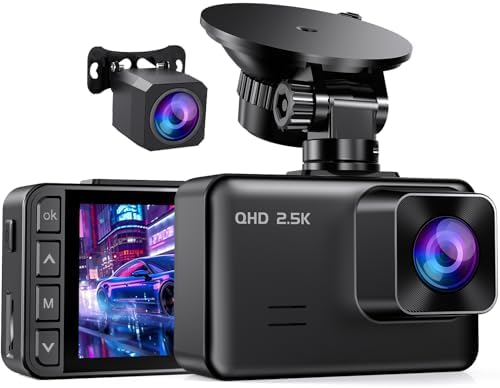
Commuter pick: Dash Cam Front and Rear, 2.5K+1080P Dual Camera for Cars, 2" IPS Screen
 Visit on Amazon →
A 2.5K front channel and a 1080p rear channel is the honest sweet spot for a daily commute. Two channels covers the accident that actually happens to most people, which is the one in front and the one behind, and it keeps the file sizes manageable.
The 2 inch IPS screen is the underrated part during install. You can see the live frame while you aim the lens, which is how you avoid a camera pointed at your own hood instead of the road. Verify the listing for the power source, the loop recording options, and the maximum card size it accepts. Check current Amazon price.
Flaws but not dealbreakers: a screen adds bulk on the glass, so mount it high and tucked behind the mirror where it does not block your view or reflect at night.
Anyone who commutes, parks on a street, or just wants front and rear coverage without a cabin camera will be happy here.
The install, step by step
Step one: decide the channels and the rear camera location before you order anything. In a sedan, the rear camera goes top center on the rear glass, inside the wiper arc if you have one. In a hatchback or SUV with a lifting gate, the cable has to pass through the rubber boot between the body and the gate, which is a real job. Know that going in.
Step two: clean the glass and dry fit. Wipe the mounting area with isopropyl and let it flash off. Tape a reference mark, then hold the mount in place without the adhesive backing to check the angle. Adhesive needs about 24 hours at room temperature to fully cure, so do not install at 4 p.m. in July and expect it to hold.
Step three: mount the front unit. Put it behind the mirror on the passenger side, lens below any tint band or dot matrix, within the wiper sweep. Keep it off the rain sensor housing. Check twice that it is not in your sightline and not sitting where a deploying airbag would send it into your face.
Step four: route the rear cable. Tuck it up into the headliner with the wide pry tool, run it down the A-pillar behind the airbag and never across it, through the door sill trim, up the C-pillar, and onto the rear glass. Leave a small service loop at both ends so the cable is not under tension. Do not pinch it in the door weatherstrip.
Step five: power it. The cigarette lighter is the ten minute install, and it dies with the ignition and occupies a port. Hardwiring with an add-a-circuit fuse tap is the better job: use a switched fuse for normal recording and a constant fuse if you want parking mode. Find them with a multimeter, photograph the fuse box first, and ground to a chassis bolt, not a random screw.
Step six: the card. Buy a high endurance card rated for constant recording. Format it inside the camera, not on your computer. A normal card corrupts at exactly the moment you need it.
Step seven: settings. Higher frame rates help you read a plate on a fast moving car, and a low bitrate will turn a 4K image into a pretty smear, so check both rather than trusting the resolution number. Set loop recording to one or three minute clips so a single corrupted file costs you less. Turn the G-sensor sensitivity down, or every Phoenix pothole locks a file you have to delete later. Set the date and time correctly, because an adjuster will check it. Decide about audio before you record anything you would not want played back in a room.
Parking mode and the battery drain question
Parking mode only works if the camera is hardwired. On the cigarette lighter it stops the second the ignition dies, which means it protects an empty parking lot and nothing else.
Set the voltage cutoff as high as the camera allows, or run a separate parking mode battery pack if you park for long stretches. Choose impact detection over motion detection if you park on a busy street, because motion triggers will fill a card with footage of pedestrians in an afternoon.
Then test it like an adult. Park overnight, and in the morning check two things: that the car started, and that the camera recorded the clips you expected. If the car is sluggish, raise the cutoff or shorten the parking mode window. No parking mode claim is worth anything without that test.
The competition and why it lost
A single channel camera is still the best witness per dollar, and I run one myself, but it cannot show you who hit you from behind, and rear end collisions are the most common claim there is.
Battery powered cameras lose in Phoenix. A lithium pack on a hot dashboard swells, and a swollen pack is a fire risk, not a witness. Capacitors are the only power source I trust up there.
Cloud cameras are genuinely useful for a car you cannot see, but the footage lives on someone else's server and it dies when the subscription does. The math on that is painful.
The no name budget specials are a lottery ticket. Some run for years. Most cook their capacitors by month four, and you will not know until the clip you need is a black screen.
Suction cup mounts are the other failure point. At 110 degrees they let go, and a camera hanging by its power cable is not recording anything. Use the adhesive mount.
What this all costs
Both cameras here sit in the same budget tier, and neither one is the expensive part of the job. Check current Amazon price on each listing before you decide.
The real budget line is the card. A high endurance 128GB or 256GB card costs more than people expect and less than one insurance deductible, and it is the difference between having footage and having a corrupted file with a timestamp on it.
After that it is a fuse tap kit, some zip ties, and your afternoon. Two hours in the driveway versus a shop install, on a device whose entire job is to settle an argument you have not had yet.
Do the routing right, format the card in the camera, set the clock, and then go pull a night clip and read a plate. That is the test that matters. Your camera was built to be a witness. Give it the install it deserves.