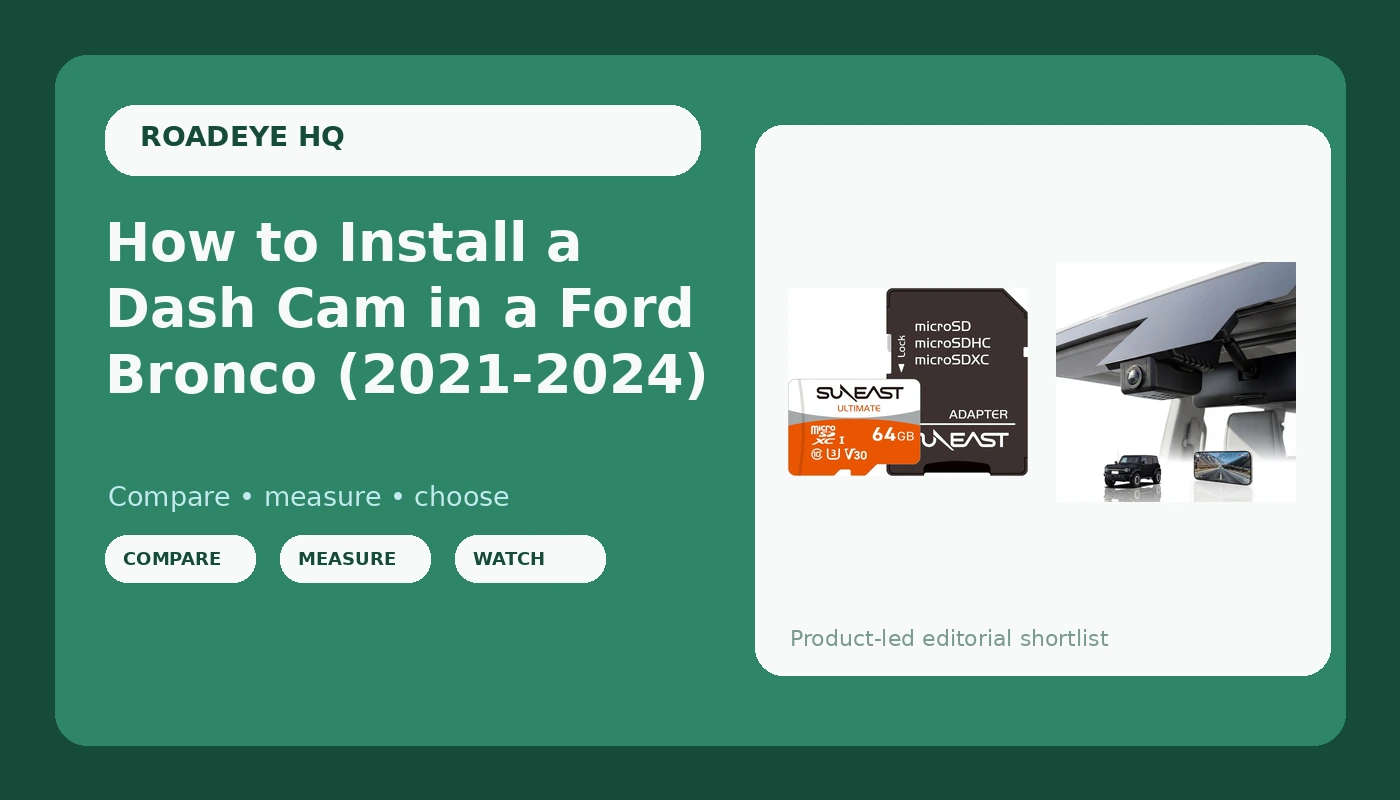
A Bronco windshield is a bad place to improvise. The glass sits close to vertical, the dash is deep enough to catch every reflection in the state of Arizona, and the trim over your head was never designed to hide a cable somebody ran in five minutes with a plastic stick.
That is the whole reason a Ford Bronco dash cam install is worth doing deliberately. Not because the hardware is complicated, but because the mistakes stay invisible until the day you actually need the clip. A camera that slides down the glass in July, a cable that saws against the A-pillar trim, a card that quietly stops writing in month five: none of those announce themselves. You find out in a parking lot with a police report in your hand and nothing usable on the card.
I have stood in that parking lot. So here is the version of this install I would do on my own truck, in the order I would do it, plus the two pieces of hardware that actually belong in a 2021-2024 Bronco or Raptor.
Why you should trust me
I drove rideshare full time in Phoenix for six years, about 40,000 miles a year, most of it at night on I-10 and the 101 when the surge pricing kicked in. I got rear-ended twice. The first time I had no camera, and the other driver told the responding officer that I ran the light. Three months of he-said-she-said later, my premium went up anyway. The second time I had a cheap camera on the windshield, and that claim settled in nine days.
That difference is why this site exists. I have run more than 40 dash cams through my own commute, my own night shifts, and Phoenix summers where a parked dashboard gets hot enough to swell a lithium battery like a balloon. I keep the melted suction cups and the corrupted cards as evidence. I still review footage frame by frame at 2 a.m. because that is when I finally have the time.
What I care about, in order: night footage where you can actually read a plate, heat survival, and a card that does not quit. Everything else on the box is decoration.
What you need before you start
Two pieces. That is the whole system: a camera and a card. The mount, the cable, and the power source should come with the camera, and if they do not, that tells you something about the camera.
I am listing the exact two parts I would put in a Bronco, and then I will walk through the install. The order matters. Card first, camera second, because formatting the card inside the camera is the only way to be sure the file system matches what the camera writes.
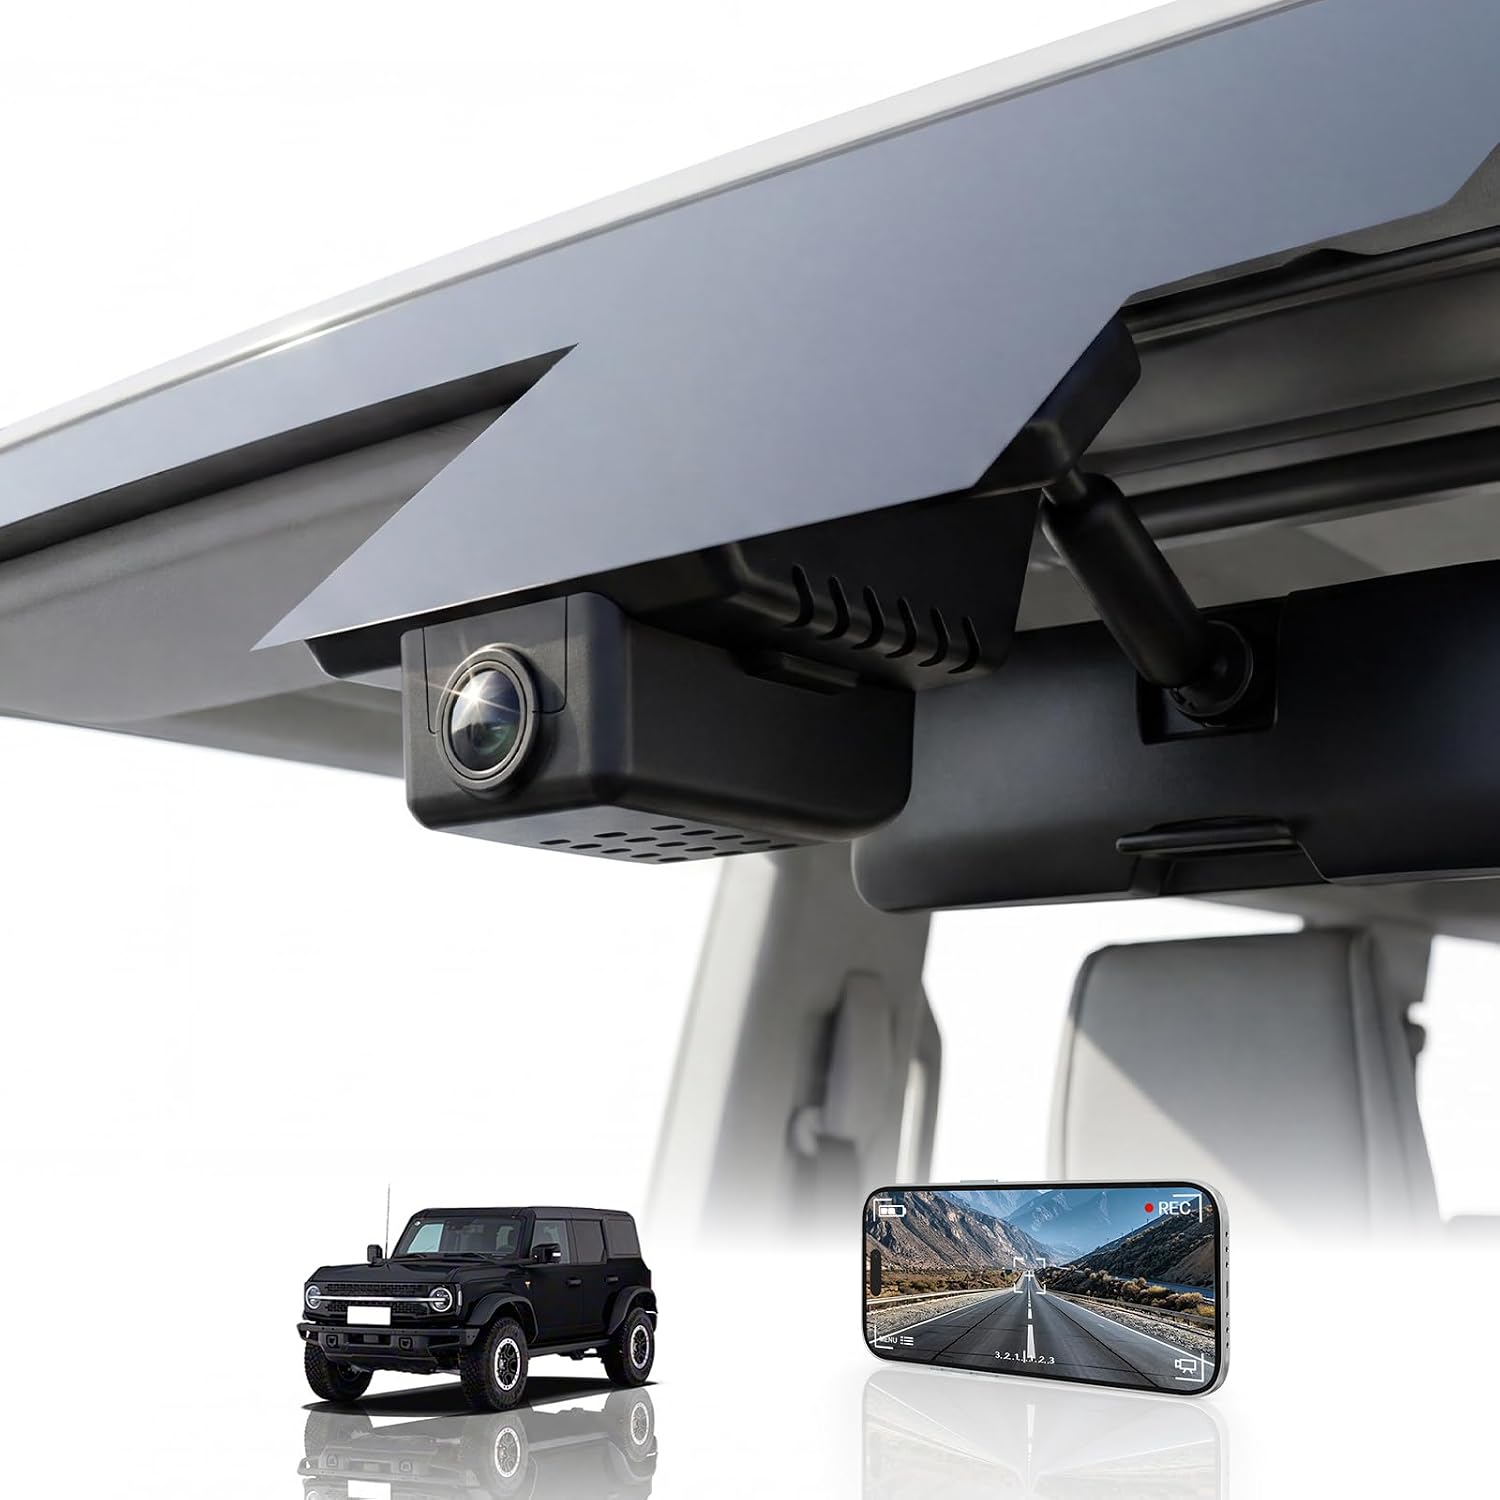
The camera: Front 4K Dash Cam for Ford Bronco & Raptor 2021-2024 (Not for Bronco Sport)
 Visit on Amazon →
Read the fitment line in that name twice, because it is doing more work than any spec on the page. This is a front 4K dash camera built for the 2021-2024 Bronco and Raptor. It is not for the Bronco Sport. Those are different vehicles with different glass, different trim, and different mounting geometry, and no amount of double-sided tape fixes that.
It is a front channel, so it watches forward. That is the coverage that wins most claims, and it is the coverage that catches a red-light runner, a brake-checker, or the guy who merges into your lane and then blames you. It does not watch your tailgate. If somebody rear-ends you at a light, a front camera records the impact and the aftermath but not the other driver's plate.
Check current Amazon price. Then read the listing for three things before you order: how it attaches to the glass, how it draws power, and whether parking mode requires a separate hardwire kit. Those three answers decide half the steps below.
Flaws but not dealbreakers: one channel means one channel. If you want rear coverage, you are shopping for a different product, and this is not the article for it.
Anyone with a 2021-2024 Bronco or Raptor who wants the forward witness in place without cutting into factory trim should start here.
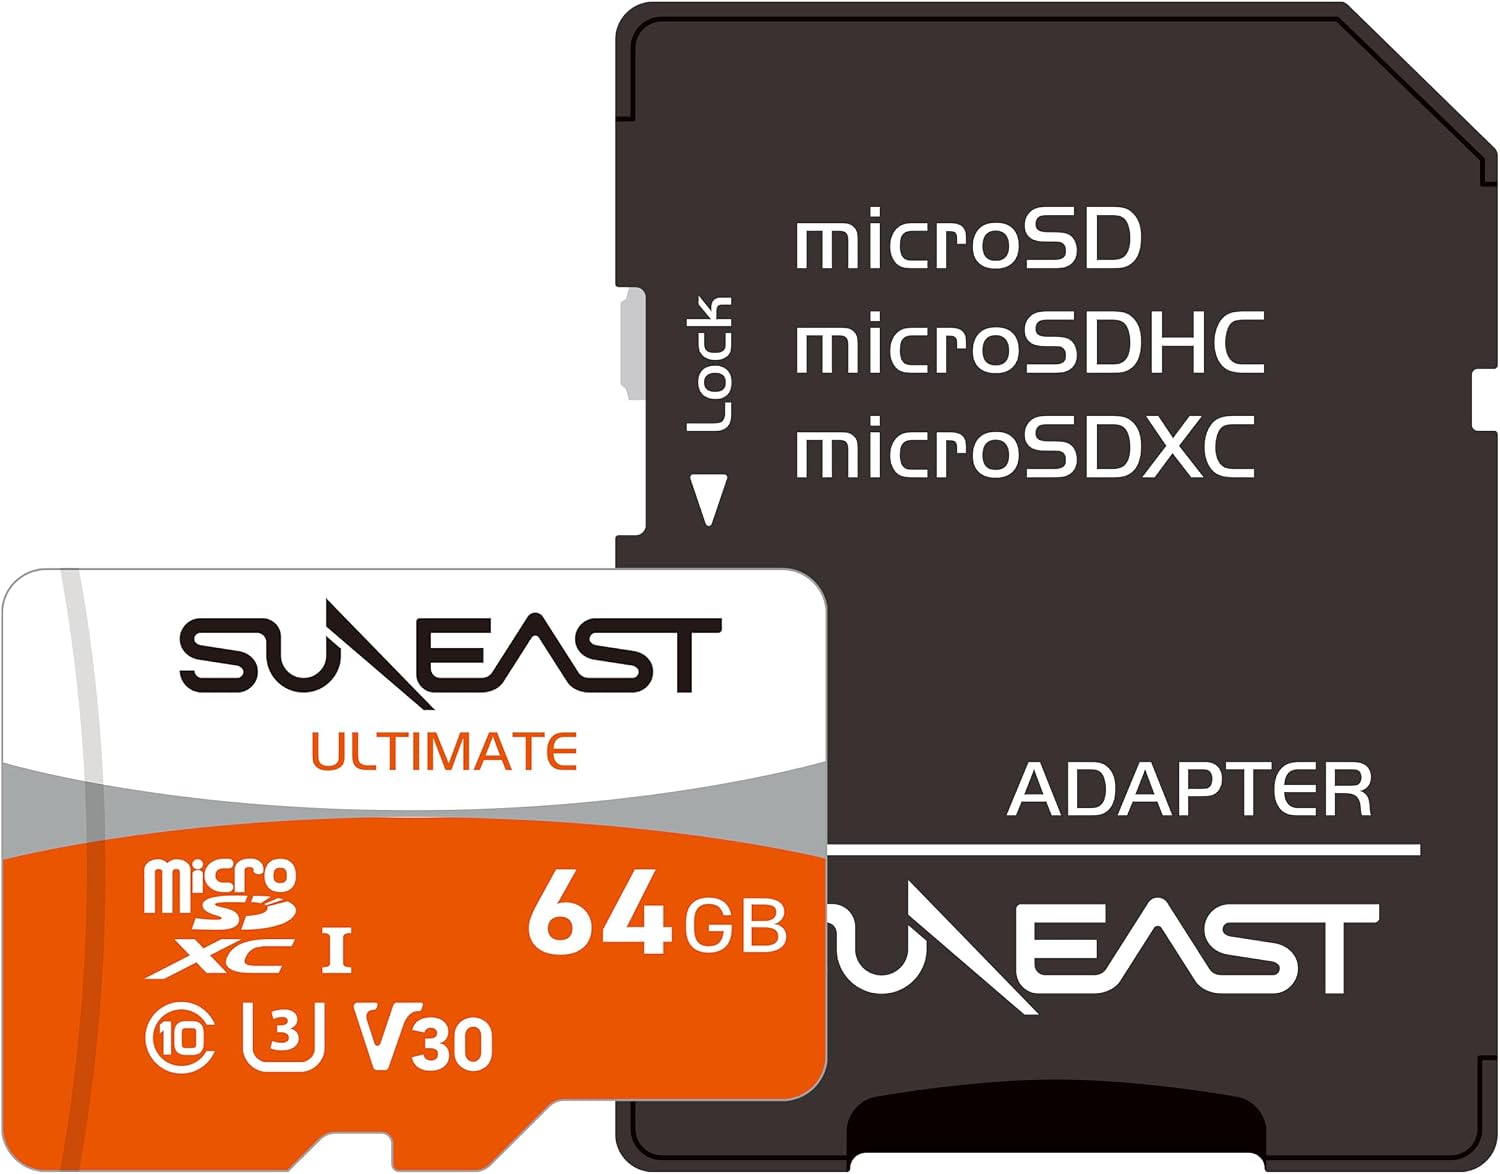
The card: SUNEAST 64GB(1Pack) Micro SDXC Memory Card with SD Adapter
 Visit on Amazon →
The card is the part everybody skips, and it is the part that fails. A 4K camera writes constantly, in heat, in a loop, for hours at a time. That is the hardest job you can hand a memory card, and a card that was perfectly happy in your phone is not automatically happy on your windshield.
This one is a 64GB microSDXC card with an SD adapter in the box. The adapter matters more than people give it credit for. It lets you pull the card, drop it into a laptop, and watch your footage on a screen big enough to read a plate. Reviewing clips on a two-inch camera screen is exactly how people miss the detail that decides a claim.
Check current Amazon price. Two things to verify on the listing before you buy: the endurance rating for constant recording, and the write speed. If the listing does not state an endurance rating, treat it as a general-purpose card and use it as a short-term card, not the one you trust with a year of parking mode footage.
Flaws but not dealbreakers: 64GB is a starting point, not a ceiling. If you plan to run parking mode, you will cycle this card constantly, and a bigger card simply buys you more days before the oldest footage gets overwritten.
Anyone who wants a spare card, an adapter, and a clean way to review clips on a real screen will get their money's worth here.
How to install it, step by step
Here is the order I would do this in. None of it needs a shop, and none of it needs cutting.
Step one: confirm fitment before you open the box. If you drive a Bronco Sport, stop reading and go find a camera made for your vehicle. If you drive a 2021-2024 Bronco or Raptor, you are in the right place. This is the step people skip because they are excited, and it is the step that generates the one-star reviews.
Step two: format the card in the camera. Not on the computer. The camera creates its own folder structure, and a card formatted on a desktop can leave some cameras refusing to write. Do this before the camera goes anywhere near the glass.
Step three: pick the mount spot. Behind the mirror, on the passenger side of the mirror stalk, is the placement that keeps the camera out of your eyeline while still seeing both front corners of the truck. Two things to avoid: the black dotted frit band at the top of the windshield, because adhesive does not bond to it reliably, and any spot where the wiper blade parks. Leave room for the mirror to adjust without knocking the camera off axis.
Step four: clean the glass like you mean it. Isopropyl alcohol, a lint-free cloth, let it flash off completely, then press and hold the mount for a full 30 seconds. A bad bond does not fail in October. It fails in July, when the glass is hot enough to soften the adhesive, and it fails with the camera face down on your dash.
Step five: dry fit before you commit. Power the camera from the socket with the cable draped loose, drive a loop you normally drive, then watch the clip. You are checking four things: is the horizon level, can you see both hood corners, is the mirror housing in frame, and does the camera block your view of the road. Peeling and re-sticking is easy before the adhesive cures and miserable after.
Step six: route the cable. Up to the headliner, across toward the A-pillar, down the door seal, then under the dash to your power source. Tuck it behind the trim, keep it away from the side curtain airbag, and do not leave a loop hanging where your knee catches it. This is the step everyone rushes, and it is the step that decides whether you have a clean install or a cable swinging in your peripheral vision for three years.
Step seven: power it the way you actually drive. Plugged into the 12V socket, the camera dies with the ignition on most vehicles, which means no parking coverage at all. Test yours with a phone charger before you assume. If you want parking mode, it has to be hardwired to a fuse that stays live, and you need to know which fuse that is. Use a multimeter, not a forum post. And watch your battery: a camera recording all night on a truck that then sits for three days is how you end up with a no-start and a tow bill.
Step eight: set the clock. Date, time, and time zone. Footage with a wrong timestamp is footage an adjuster can question, and a questioned clip is a clip you may not get to use. Set it, then verify it a week later.
Step nine: test it like a claim depends on it. Day clip, night clip, and a 40 mph pass where you read a plate out loud from the footage. If you cannot read that plate on your laptop, the camera is a witness that cannot identify anybody.
Step ten: heat test it on purpose. Park in the sun on your worst day, come back after a few hours, and check whether it is still recording and still holding the clock. In Phoenix I run this test in July because that is when cameras actually die. Run yours in your worst month, not your best one.
The Bronco-specific things that bite people
Three questions come up over and over, and none of them has a universal answer, because Bronco trims vary.
The first is the outlet. Some 12V sockets stay live with the ignition off and some do not. That single fact decides whether you get parking coverage for free or whether you are buying a hardwire kit and spending an hour on your back in the footwell.
The second is the Bronco Sport. It shares a name and almost nothing else. Every year somebody orders the wrong camera because the product name looked close enough, and every year that person leaves a one-star review that has nothing to do with the hardware.
The third is reflection. A deep dash plus a steep windshield means dashboard reflections creep into night footage and wash out the plate you were counting on. Mount the camera close to the glass and angle it down slightly, and consider a dark mat on the dash if reflections are still showing up in your clips.
What this setup does not do
It does not watch behind you. Front channel only, so a rear impact gives you the collision and the aftermath, not the other driver's plate. If rear coverage matters to you, that is a different camera and a different install.
It does not survive on a weak battery. Parking mode draws power while the truck is off, and a Bronco that sits for days at a time is a bad candidate for all-night recording without a battery protection setting or a dedicated power source.
It does not make your card high endurance by association. The camera is only as reliable as the card inside it, and the card is only as reliable as its endurance rating.
It does not override your state's rules on windshield obstructions. Check them. Behind the mirror is the placement least likely to cause a problem, which is another reason that is where I put it.
What it costs, and how to think about it
Two parts, one afternoon. The camera and the card are the entire purchase, and everything after that is labor you can do yourself with a plastic trim tool and a little patience.
Check current Amazon price on both, then divide that number by the days you plan to keep the truck. That is the honest way to price a dash cam, because the thing you are buying is not a gadget, it is the difference between a nine-day claim and a three-month argument.
I have watched a nine-day settlement and a three-month fight. The footage decided both. The install is what made the footage possible, and the install is the part you can do this weekend.
That is the job. Get it on the glass, get it wired right, and let it do the one thing you bought it for.