Most dash cam installs announce themselves. A suction cup stuck to the glass, a cable drooping down the A-pillar, a 12V plug stealing the only socket in the console. In a 2026 Kia Sportage you have a better option, because the housing behind the mirror and the trim panels leave enough room to do a Kia Sportage dash cam install that looks like it left the factory that way.
That matters more than vanity where I live. A Phoenix dashboard hits 180°F in July, and I have peeled more failed adhesive off more windshields than I can count. A camera that falls off the glass at 110°F is not a cosmetic problem. It is a camera that is pointed at your floor mat on the day you need it.
The good news is that this install is not complicated. It is two decisions and about ten steps, and the two decisions are the camera and the tape that holds it. Get those right and the rest is patience with a trim tool.
Why you should trust me
I drove rideshare full time in Phoenix for six years, roughly 40,000 miles a year on I-10 and the 101, most of it at night when the surge pricing kicked in. I got rear-ended twice. The first one was a red-light runner who told the cop I ran the light, and with no footage it turned into a three-month he-said-she-said fight that raised my premium anyway. The second one was a distracted driver at 45 mph, and by then I had a camera on the windshield. That claim settled in nine days.
That difference is why I started buying dash cams the way other people collect tools. I have run more than 40 of them through my own commute, my own night shifts, and Phoenix summers that swell lithium batteries like balloons. I keep every melted suction cup and every corrupted card as evidence, and I still review footage frame by frame at 2 a.m. like it is a second job. Fit and finish is part of the review, because a camera that looks bolted on is a camera people stop using.
How I picked and how I tested
I do not recommend a camera I have not run on my own glass, and the checklist is always the same. What does the night footage look like at 40 mph? Can it survive a week on a hot dashboard without shutting down? What does parking mode actually cost in battery drain on a real car? Would I hand this clip to an insurance adjuster without apologizing for it?
For this install specifically I also care about three things that have nothing to do with footage quality. Does the housing blend with the factory trim behind the mirror? Does the mount sit flat on the glass without a bracket hanging in your sightline? And can the adhesive survive a summer, because the best camera in the world is useless lying on your dash.
Everything below is gear I would put on my own windshield in a 2026 Sportage, and the second item exists because of the first item's only real weakness.
What you need before you start
Gather this first, because stopping halfway through a cable route is how people break clips.
- A plastic trim removal tool set. Metal screwdrivers scratch panels.
- Isopropyl alcohol and a lint-free cloth.
- A hardwire kit with a fuse tap, if you want parking mode.
- A multimeter or a cheap 12V test light, so you can find a switched fuse and an always-on fuse.
- Small zip ties and a few adhesive cable clips.
- A high endurance microSD card sized for the camera.
- Two or three hours you are not in a hurry.
The camera and the tape that make it look factory
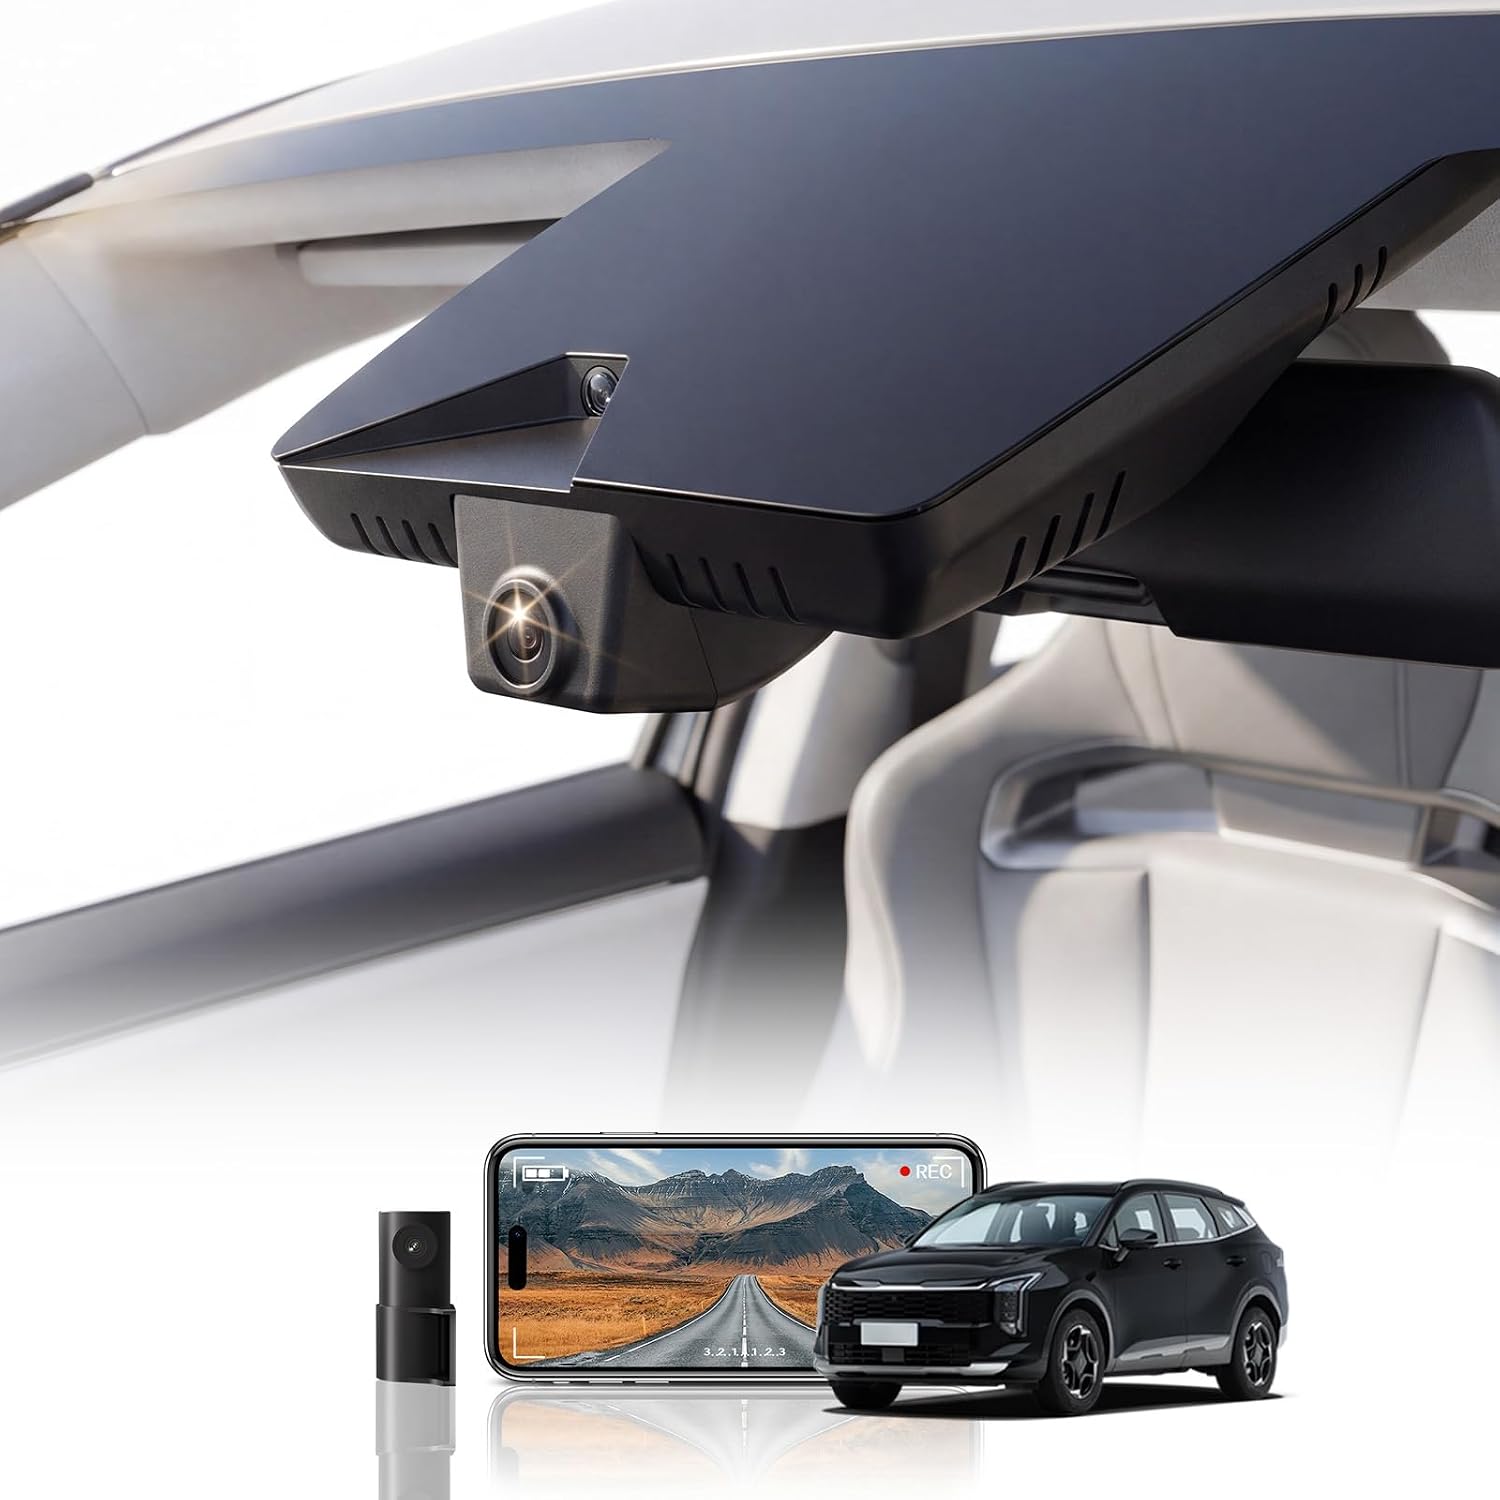
Our pick: Front 4K & Rear 1080P Dash Cam for Kia Sportage 2026,OEM Look
 Visit on Amazon →
This is the piece that makes the whole install work, and it works because of the fitment, not the spec sheet. The housing is built for the 2026 Sportage and shaped to sit against the factory trim behind the mirror, which is the difference between a camera you notice every time you get in and one that disappears. Front channel records in 4K, the rear channel in 1080p, so you get coverage in both directions from a single system instead of two cameras fighting for windshield space.
That dual-channel setup is the part I care about most. Rear-end collisions are the ones that cost me money, and a front-only camera proves nothing about who hit whom from behind. Having the rear footage in the same clip file with the same timestamp is what makes an adjuster's job easy.
Check current Amazon price before you commit, because pricing on fitment-specific cameras moves around. The reason to pick this one over a generic windshield cam is simple: a camera designed for your trim means fewer compromises on where it sits, and where it sits is what decides whether the footage is usable.
Flaws but not dealbreakers: Fitment-specific gear is not universal. If you trade the Sportage in, this camera follows the car's interior, not you. Also verify the mounting footprint against your windshield's black dotted frit area, because adhesive does not bond well to that textured matrix on any camera.
Anyone who wants a factory-looking windshield in a 2026 Sportage, and who wants the rear covered without hanging a second device off the back glass, should start here.
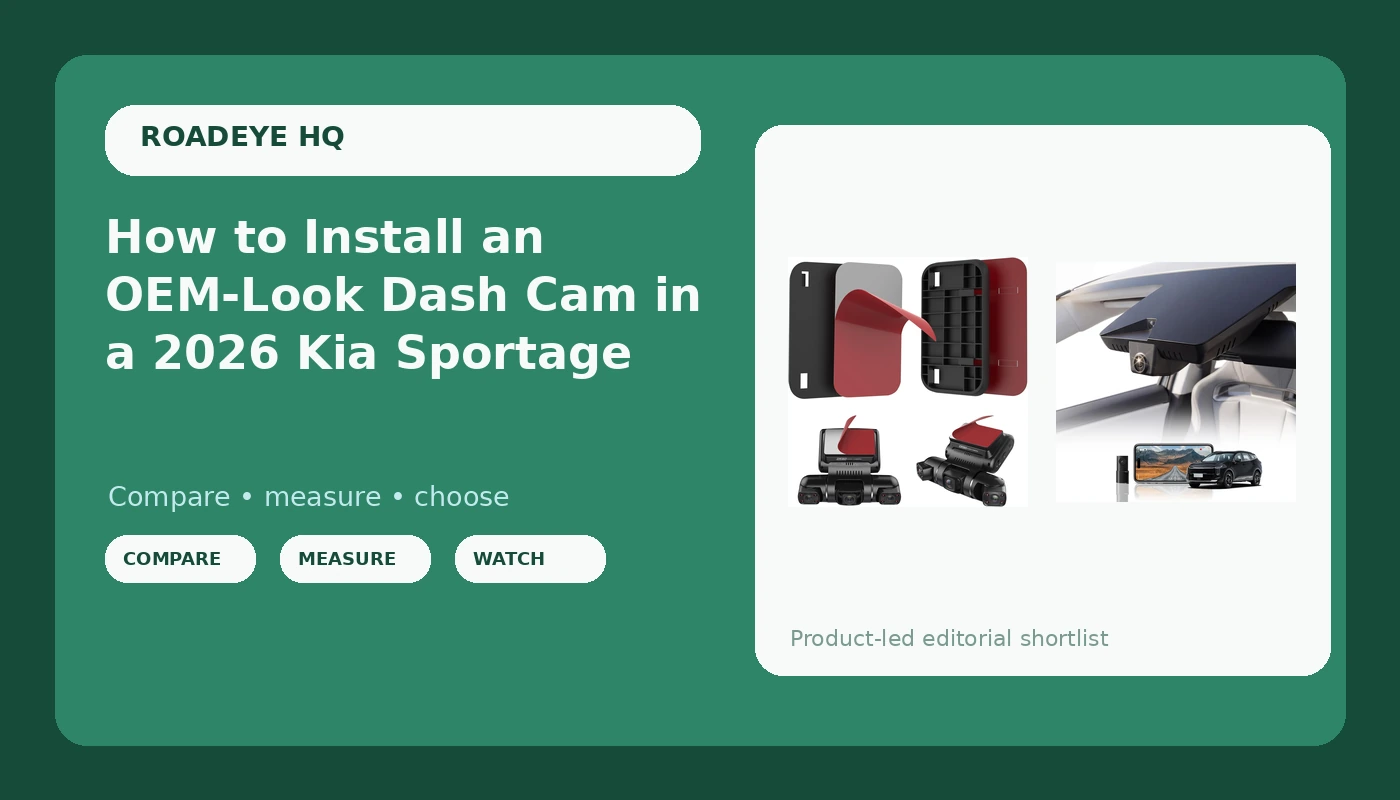
The mounting fix: Double Sided Sticker Heat Resistance Tape for Pruveeo D90/A6/D88 Dash Cam
 Visit on Amazon →
Heat resistance is the entire reason this tape exists on this list. Standard double-sided foam tape softens around 140°F, and a windshield in direct Arizona sun blows past that. When the adhesive creeps, the camera tilts down a few degrees, and a few degrees is the difference between reading a plate and reading a smudge.
This tape is specified for the Pruveeo D90, A6, and D88 dash cams, so check the footprint against your own mount before you order. If the pad is larger than your bracket, trim it with scissors, but keep the pad smaller than the mount plate so no adhesive edge is exposed to peel up in the sun.
A practical note from someone who has watched mounts fail: surface prep is worth more than the tape. Wipe the glass with isopropyl alcohol, let it flash off completely, and press the mount for a full minute. Do that and a heat-resistant pad will outlast the car. Skip it and even good tape lets go.
Check current Amazon price. This is the cheapest insurance in the entire install.
Flaws but not dealbreakers: It is a pad, not a bracket. If your camera came with a plastic mount that flexes, better tape will not fix a wobbly arm. And if you are mounting in winter, warm the glass and the pad with a hair dryer first, because adhesive needs some temperature to bond.
Anyone fighting a mount that has already drooped once, or anyone installing in a hot climate, should keep a set of these in the glovebox.
The install, step by step
Step one: Park in shade and let the glass cool. Adhesive bonds best between roughly 70°F and 90°F. Sticking a mount to glass that has been baking all afternoon is how you get a camera on the floor mat by Thursday.
Step two: Choose the camera position before you stick anything. Tuck the front unit against the factory housing behind the mirror. Keep it inside the wiper sweep so rain and dirt do not blur your footage. If your trim has a driver-assist camera cluster behind the mirror, mount beside or below it, never in front of it. Blocking a sensor to gain two inches of camera height is a bad trade.
Step three: Clean the glass properly. Isopropyl alcohol on a lint-free cloth, then let it dry. Do not touch the cleaned spot with your fingers. Skin oil is enough to shorten the life of any pad.
Step four: Test-fit and power up first. Plug the camera in, confirm it boots, confirm the rear channel shows a picture, and check the framing on the screen. Doing this before the adhesive is on the glass means a mistake costs you nothing.
Step five: Apply the tape or mount. Peel, press, hold for a full minute. Then wait. Give the adhesive an hour before you hang the camera's weight on it, and longer if the day is hot.
Step six: Route the front cable. Push the cable up into the headliner gap, then down the A-pillar. Run it behind the airbag, never across the front of it. Tuck it behind the pillar trim with a plastic tool, and zip tie the slack so it cannot rattle. If you are not comfortable pulling pillar trim near an airbag, pay an installer for this one step. It is worth the money.
Step seven: Route the rear cable. Headliner across the roof, down the rear pillar, and through the hatch grommet into the tailgate. Leave a small service loop at the hatch hinge so the cable is not stretched every time you open the trunk. This is the step that takes the longest and the step most people rush.
Step eight: Hardwire it if you want parking mode. A fuse tap in the fuse box gets you a switched circuit and an always-on circuit. Parking mode does not exist on the 12V socket, because that socket dies with the ignition. Test your fuse choices with a meter, both with the car off and with it running, before you trust them.
Step nine: Format the card in the camera. Not on your computer. Cameras want their own file structure, and a card formatted elsewhere is a common cause of recording that quietly stops.
Step ten: Verify with a night clip. Drive a route with streetlights and no streetlights. At 40 mph, can you read a plate off the footage? If you cannot, adjust the angle, clean the glass again, or accept that the camera is the weak link.
Where this install goes wrong
The most common failure is the frit. That black dotted border around the edge of your windshield is not smooth glass, and adhesive does not seal to it. Mount on the clear glass just inside the dots, not on them.
The second failure is heat. A camera that shuts down on a hot dashboard is not protecting you, it is napping. If yours powers off in the afternoon and comes back in the evening, you have a heat problem and you should test it deliberately rather than discovering it after a collision.
The third failure is the card. A normal microSD card in a camera that records continuously will corrupt, and it will corrupt at the worst possible moment. Use a high endurance card and replace it on a schedule, not when it dies.
The fourth is loop recording that stops looping. Check the card every couple of weeks. If the oldest files are not being overwritten, your camera has stopped recording and you will not know until you need the clip.
Why I did not just grab a universal camera
A universal windshield camera works fine, and I have run plenty of them. What you give up is the fit. Generic housings sit lower, hang further into your sightline, and often need a bracket that flexes. In a car with a factory sensor cluster behind the mirror, that extra bulk becomes a real annoyance.
The other tradeoff is rear coverage. A single-channel universal camera leaves you blind from behind, which is where most of the claims I have dealt with actually start.
What this all costs
This install is two purchases. The camera is the real spend, and the heat-resistant tape is a rounding error next to it. Check current Amazon price on both before you order, because the total matters less than the ratio: a well-mounted camera that stays put is worth more than a better camera taped on with the wrong adhesive.
Add a hardwire kit, a fuse tap, and a high endurance card, and you have the full system. None of those are optional if you want parking mode and footage that survives the summer.
The install itself is free if you do it yourself, and it is a two to three hour job the first time. Do it once, in the shade, with the glass clean and the adhesive given time to cure, and you will forget the camera is there. That is the point. A dash cam is an insurance witness, not a gadget, and the best witness is the one that is still aimed at the road when someone runs a light in front of you.