A dash cam setup for insurance claims is not a gadget project. It is evidence prep. I have stood in a parking lot after a rear-end hit, with a cop asking me what happened and nothing to show him. I have also watched a claim settle in nine days because a cheap camera on my windshield caught the whole thing. The difference between those two days was not the price of the camera. It was where the lens pointed, whether the card was still alive, and whether the wiring kept the camera running after the key came out.
Most people unbox a cam, stick it under the mirror, plug it into the cigarette lighter, and call it finished. That setup works fine until the one night it matters. What follows is the version I run on my own truck and on the cars I wire for other rideshare drivers in Phoenix, where a parked dashboard hits 180°F and heat kills more cameras than crashes do.
Why you should trust me
I have run more than 40 dash cams through my own windshield since the night a red-light runner lied to a cop about me and turned a clean rear-end into a three-month he-said-she-said fight that raised my premium anyway. Two cameras have now survived back-to-back Phoenix summers on a dashboard rack that bakes in the desert sun, and I keep every melted suction cup and corrupted SD card in a box as evidence of what fails first.
Every camera I write about has to answer four questions. What does the night footage actually look like at 40 mph? Can it sit on a hot dashboard for a week without a heat shutdown? What does parking mode really cost in battery drain? And would I hand this clip to an adjuster without a single sentence of explanation? I review footage frame by frame at 2 a.m. because that is genuinely what I do with my evenings. I am not the person to ask about cloud subscriptions. I am the person to ask whether the plate is readable.
How I picked and how I tested
The two cameras below do two different jobs, and that is the entire point of this guide. One is a single windshield witness pointed forward. The other is a four-channel system that covers the front, the rear, both sides, and the cabin. Neither one is better in the abstract, and anyone who tells you otherwise is selling something.
My criteria are boring and they never change. Night footage at speed first, because accidents do not happen at noon in perfect light. Heat survival second, because a camera that shuts down in July is a camera that is not recording in July. Parking mode third, and only after I have thought about what it does to the battery in a car that sits for two days. Plate legibility fourth, which means I care about sensor size and bitrate, not the number printed on the box.
I am not going to pretend these are the same tool. If you drive a sedan to work and park in a garage, the single forward camera is the sane purchase. If you drive for a living, haul passengers, or park on a street where people back into things, the four-channel system earns its cable.
What you need before you start
You cannot set up a camera you have not chosen, and the choice changes the install. A single-channel job is a 20-minute task with a 12V plug. A four-channel job is an afternoon with trim tools, because you are running cable to places most people never touch.
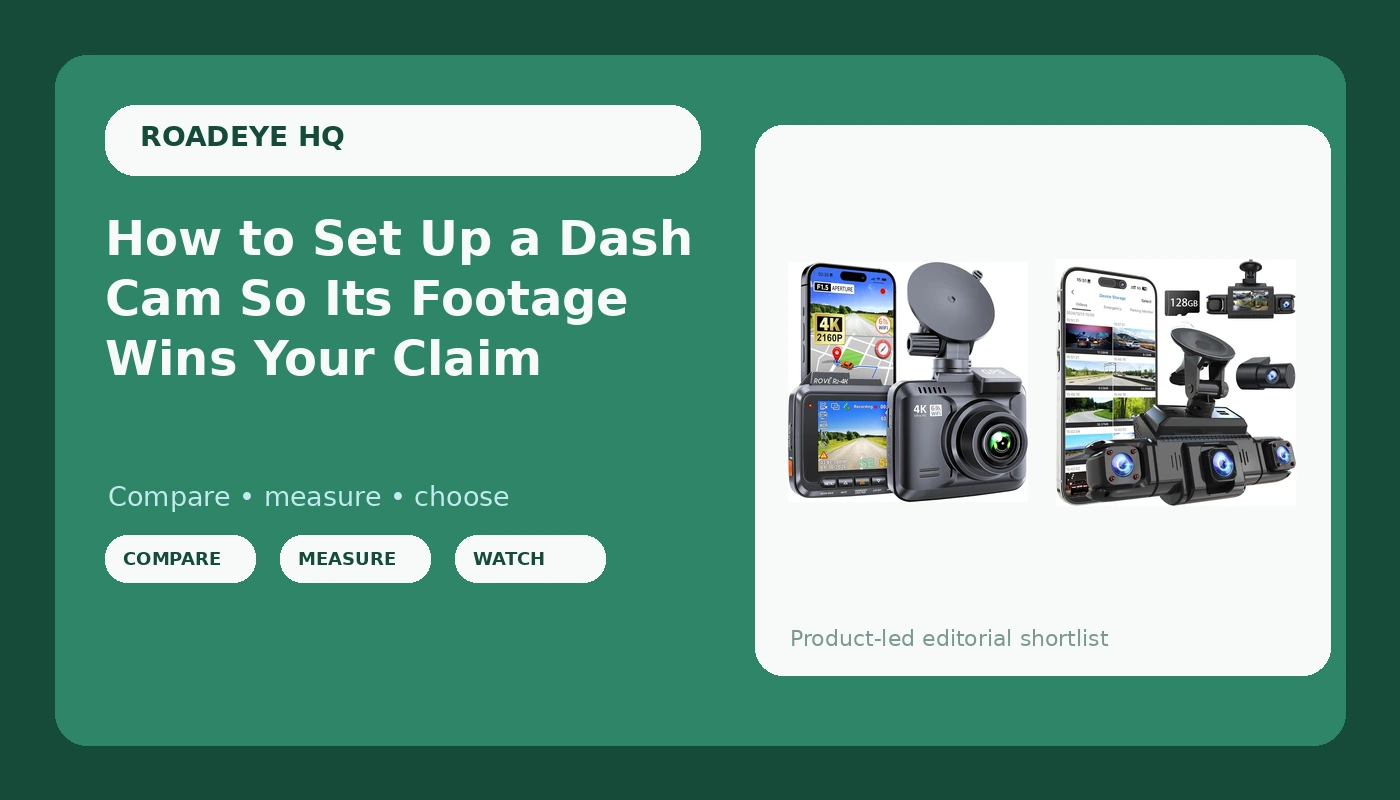
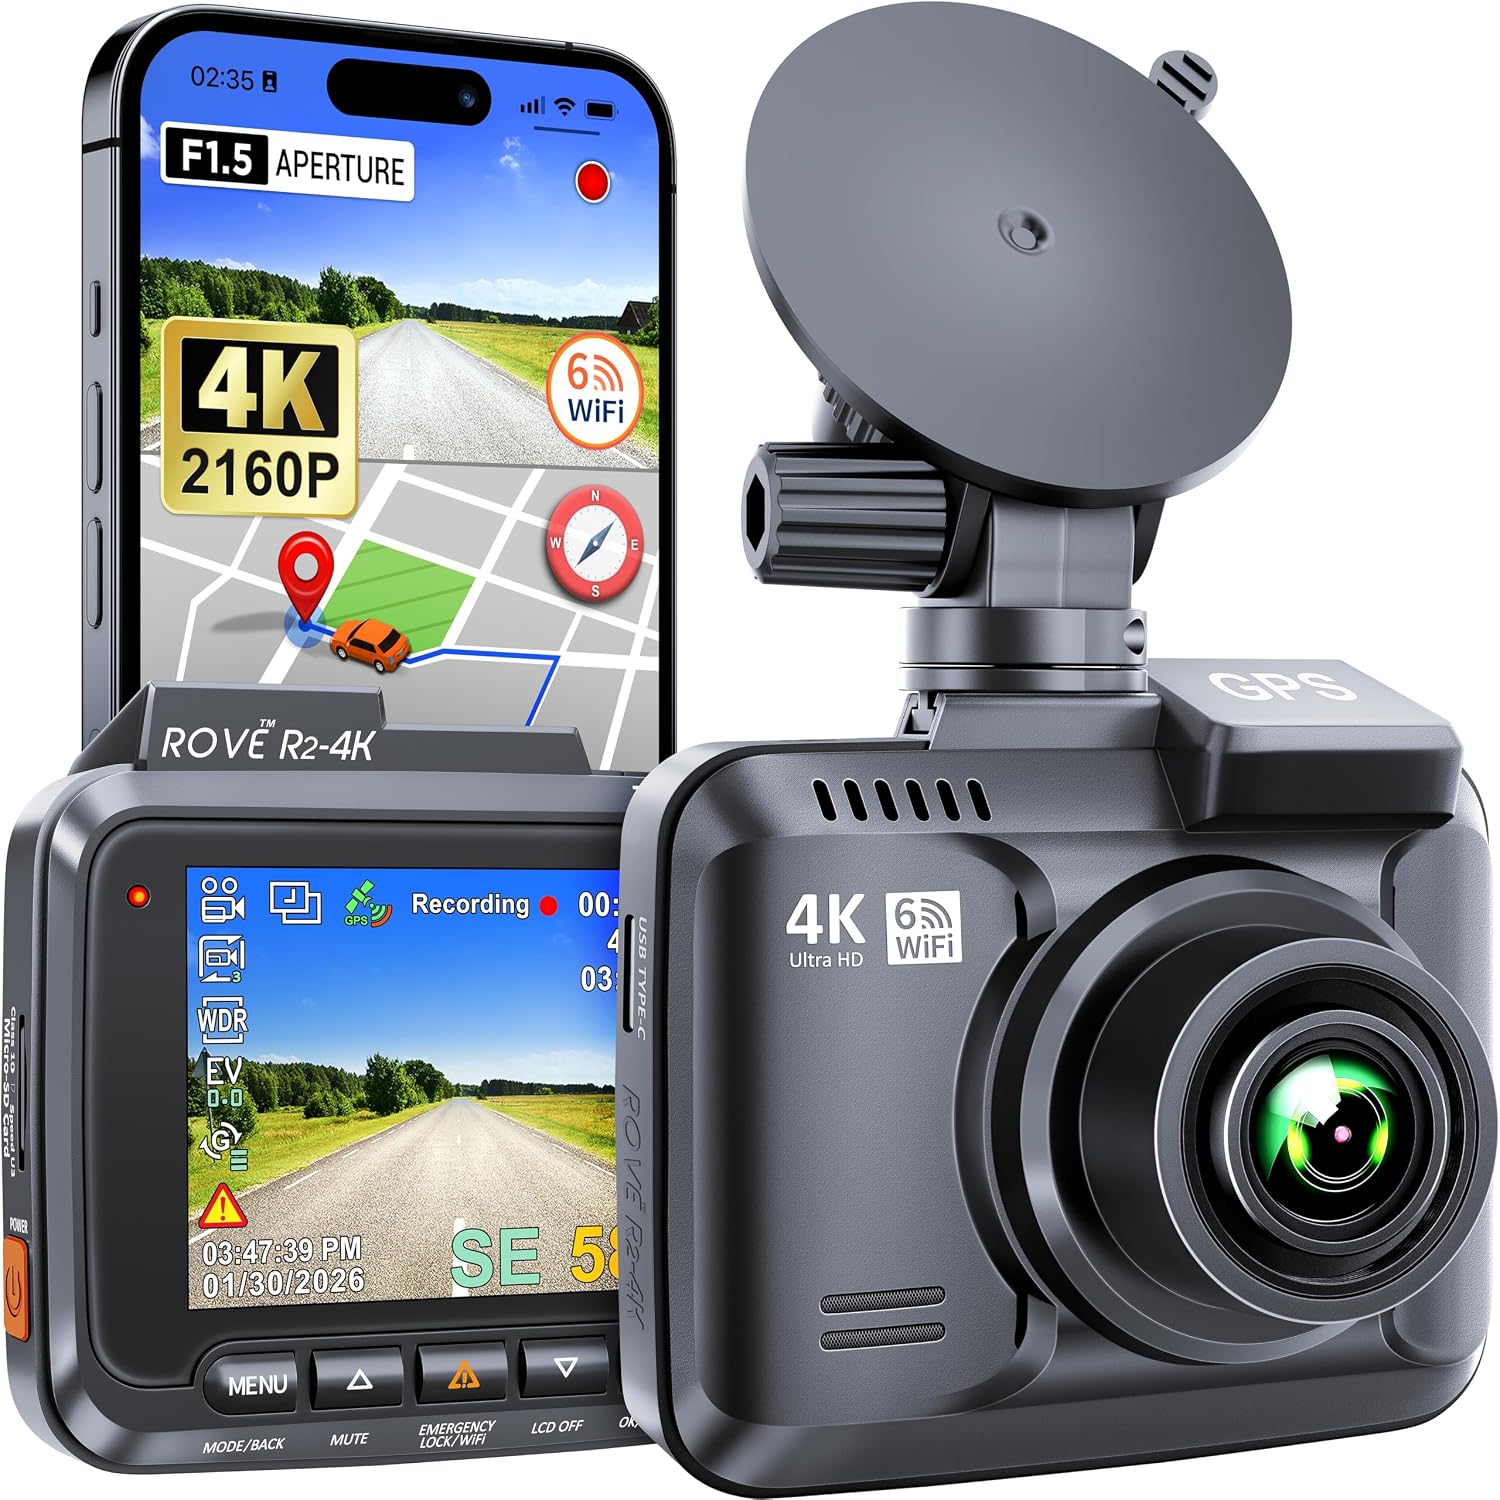
Our pick for a single windshield: ROVE R2-4K Dash Cam, 4K UHD 2160P Car Camera, 8MP Sensor, WiFi 6 and GPS
 Visit on Amazon →
This is the shape most drivers should start with. It records forward in 4K UHD from an 8MP sensor, which matters for exactly one reason: plate detail. A 4K file only helps you if the bitrate keeps up, so before you trust the resolution number, check the sensor size and the recording bitrate rather than the sticker on the front of the box. GPS is the feature I care about more than people expect, because a clip with speed and coordinates stamped on it does half the arguing for you. WiFi 6 means pulling a clip to your phone in the parking lot takes seconds instead of minutes, which is the difference between showing the other driver the footage and describing it.
Flaws but not dealbreakers: It faces one direction. A rear-end, a side swipe, or anything happening beside your door is not in the frame. It is a forward witness, and it is a good one, but it is not a security system.
Anyone who commutes, parks in a driveway, and wants one clean, readable record of what happened in front of them will get the most out of this camera.
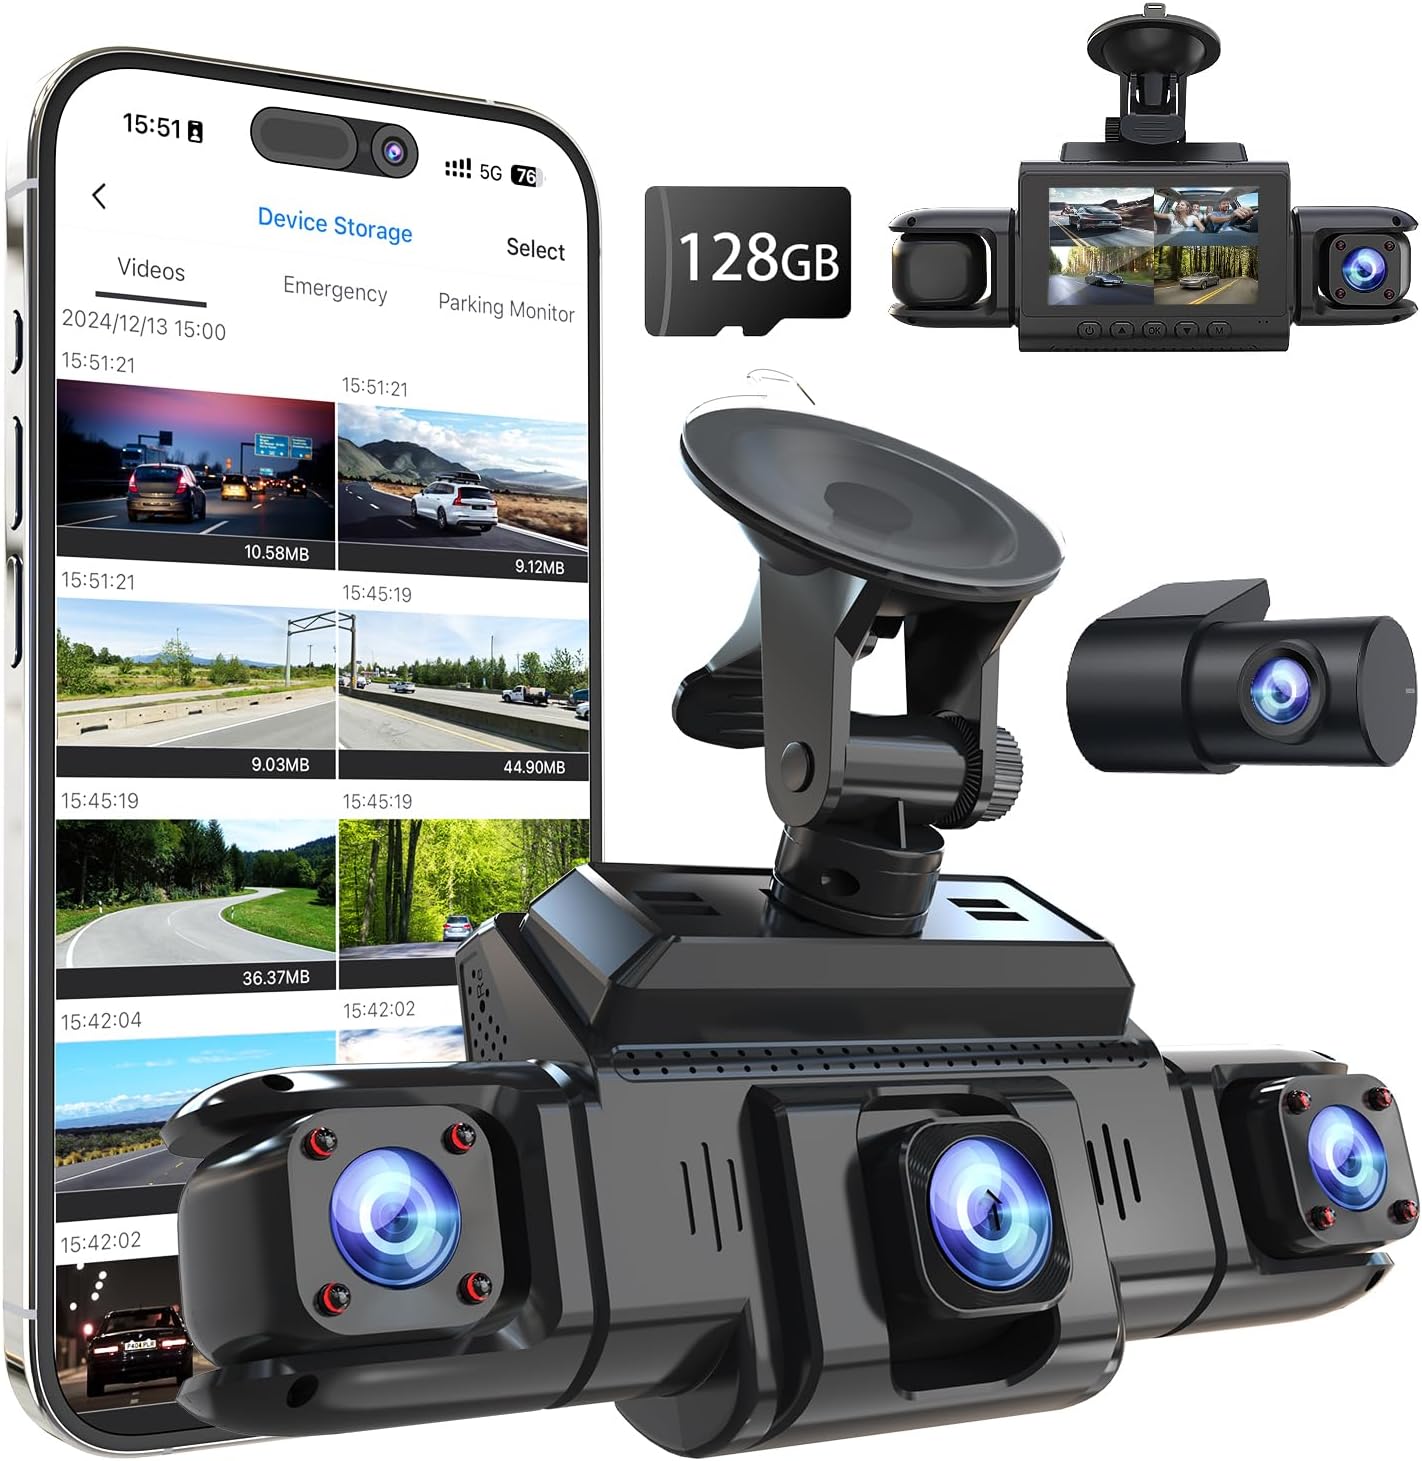
Upgrade pick for full surround: 360 View 4 Channel Dash Cam Front and Rear Left Right Inside Camera for Cars, GPS and 5G Band WiFi, Night Vision, 160 Wide Angle, WDR, 24H Parking Mode, Supercapacitor, Included 128GB Card
 Visit on Amazon →
Four channels means four views: front, rear, left, right, plus the cabin. For anyone hauling passengers, that side coverage is the whole argument. Most dash cam footage that loses a dispute loses it because the impact came from an angle the camera never saw. A 160-degree wide angle plus WDR helps hold detail when the sun is low and half the frame is blown out, and night vision is doing the real work on a ride home at 1 a.m.
Two details matter more than the spec list. First, supercapacitor power instead of a lithium battery, which is the only power source I trust on a Phoenix dashboard, because capacitors do not swell in the heat. Second, 24H parking mode, which is useless unless you hardwire it. The included 128GB card is a convenience, but I still verify the high endurance rating printed on the card itself before I trust it with loop recording.
Flaws but not dealbreakers: Four channels means more cable, more install time, and more card bandwidth. A four-channel system writing at high resolution needs a card that can keep up, so do not swap in a bargain card from a drawer. Run the install properly and this camera covers angles a single forward cam simply cannot.
Anyone who drives for a living, carries passengers, or parks where the car sits unattended should start here.
The actual dash cam setup workflow
This works whether you bought one camera or four. The order matters, so do not skip ahead to the settings menu.
Step one: pick the mount position. Put the lens behind the rearview mirror on the passenger side so it does not block your view. It has to sit inside the sweep of the wipers, because a lens looking through a dirty patch of glass records nothing useful in rain. Keep it out of the airbag deployment zone. If you are adding side cameras, place them where the trim already has a seam, not in the middle of a clean panel.
Step two: clean the glass and mind the temperature. Adhesive mounts fail on a hot windshield and suction cups fall off at 110°F, which is a real Phoenix problem and not a theoretical one. Clean the glass, let the adhesive cure somewhere shaded, and if your car has been sitting in the sun, wait for the glass to cool before you stick anything to it. Reusing a suction cup that already let go once is how you end up with a camera dangling by its power cable.
Step three: route the cable before you power anything. Tuck the cable into the headliner, run it down the A-pillar behind the trim, and keep it clear of the side curtain airbag. Never run a cable across the front of an airbag. Take the long way. A cable that is visible across your dash is a cable that gets snagged and unplugged by a passenger.
Step four: decide your power source. The 12V socket is fine for a basic install and takes two minutes. It also kills the camera the instant the key turns off, which means no parking mode. If you want parking mode, you need a hardwire kit and a fuse tap, and you should spend the extra time doing it right.
Step five: aim the lens. The horizon should sit roughly in the middle of the frame, with a slice of your own hood visible at the bottom. That hood line is context. It tells an adjuster which car the footage came from and how the vehicle sat in the lane. Aim too high and you lose the road surface. Aim too low and you lose the traffic ahead.
Step six: format the card in the camera. Not on your computer. Cameras want their own file structure, and a card formatted on a laptop is a card that will complain at the worst moment. Use a high endurance card rated for constant recording and heat. A normal card corrupts at exactly the moment you need the clip, and it will do it silently.
Step seven: set the menu properly. Turn on loop recording and set the clip length, usually one to three minutes, so a full card overwrites the oldest file instead of stopping. Turn on WDR or HDR for night driving. Set the date and time correctly, because a clip with a wrong timestamp is a clip an adjuster can question. Turn on the speed and GPS stamp if you have it. Check your state law on audio before you leave the microphone on.
Step eight: verify before you trust it. Take a night drive and read a plate at 40 mph from the file on your phone, not from the live view. Confirm the timestamp matches reality. Pull the card and confirm the loop actually looped instead of filling up and quitting. Then leave the car in the sun for a day and confirm the camera is still recording when you come back. That last test is the one that eliminates most cameras from my list.
Hardwiring and parking mode
Parking mode is the feature people pay for and never actually use, because they plug into the cigarette lighter and the camera dies with the ignition. To make it work, run a hardwire kit to the fuse box with a fuse tap on a circuit the car keeps live. Pick a circuit that is not safety critical. Then set the voltage cutoff in the camera menu, so the cam shuts itself off before it strands you with a dead battery.
The math on parking mode is a battery drain question, not a features question. A camera recording motion events overnight draws from the same battery that starts your car in the morning. Test it on a normal week, not a weekend when you are not driving. If your car sits for days at a time, a dedicated dash cam battery pack is the honest answer, and I will say so plainly instead of pretending a fuse tap solves everything.
What this all costs
I am not going to quote prices, because they move and a stale number is worse than no number. Check current Amazon price on both cameras and you will see they land in the same neighborhood, which is the interesting part, because they are not the same product at all. The real cost is the install:
- The single forward camera is the cheap, fast path. Twenty minutes, no tools, no fuse box.
- The four-channel system costs you an afternoon and a set of trim tools, and it covers angles the single camera never will.
- A hardwire kit is the least expensive part of the job and the one that unlocks parking mode.
- A high endurance SD card is not optional. It is the part that decides whether you have footage at all.
- A battery pack only makes sense if your car sits for long stretches.
Over a few years, the cost per day of either camera is trivial next to one insurance dispute, one raised premium, or one at-fault finding you did not deserve. That is the trade.
The bottom line
A dash cam is an insurance witness, not a gadget. Set it up like one. Aim the lens so the road and your hood are both in frame, run a high endurance card, hardwire it if you want parking mode, and then test the night footage before you need it. Pick the single forward camera if you want one clean witness, and the four-channel system if you want the whole car covered. Do the setup once, check it every few months, and stop thinking about it. That is the job.